Monthly Archives: August 2014

Coop d’etat: How to Build a Chicken Tractor. Sort of.

My chicks were starting to not be chick-ish anymore, and were long overdue for a home renovation. And I know all about home renovations.

wood

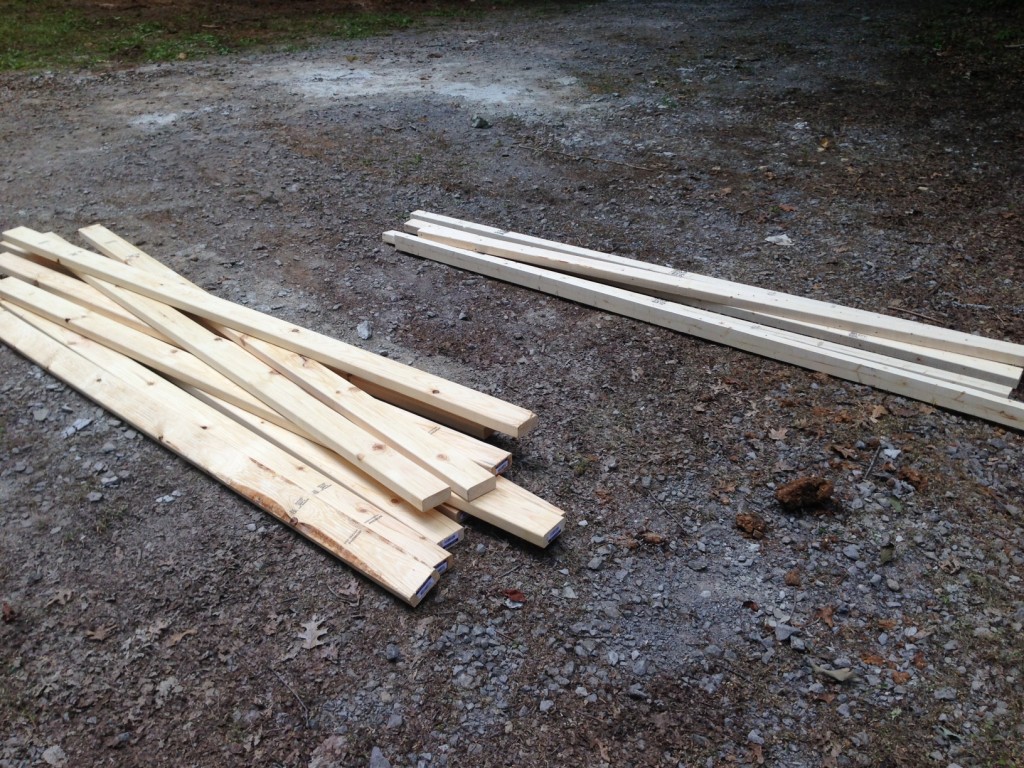
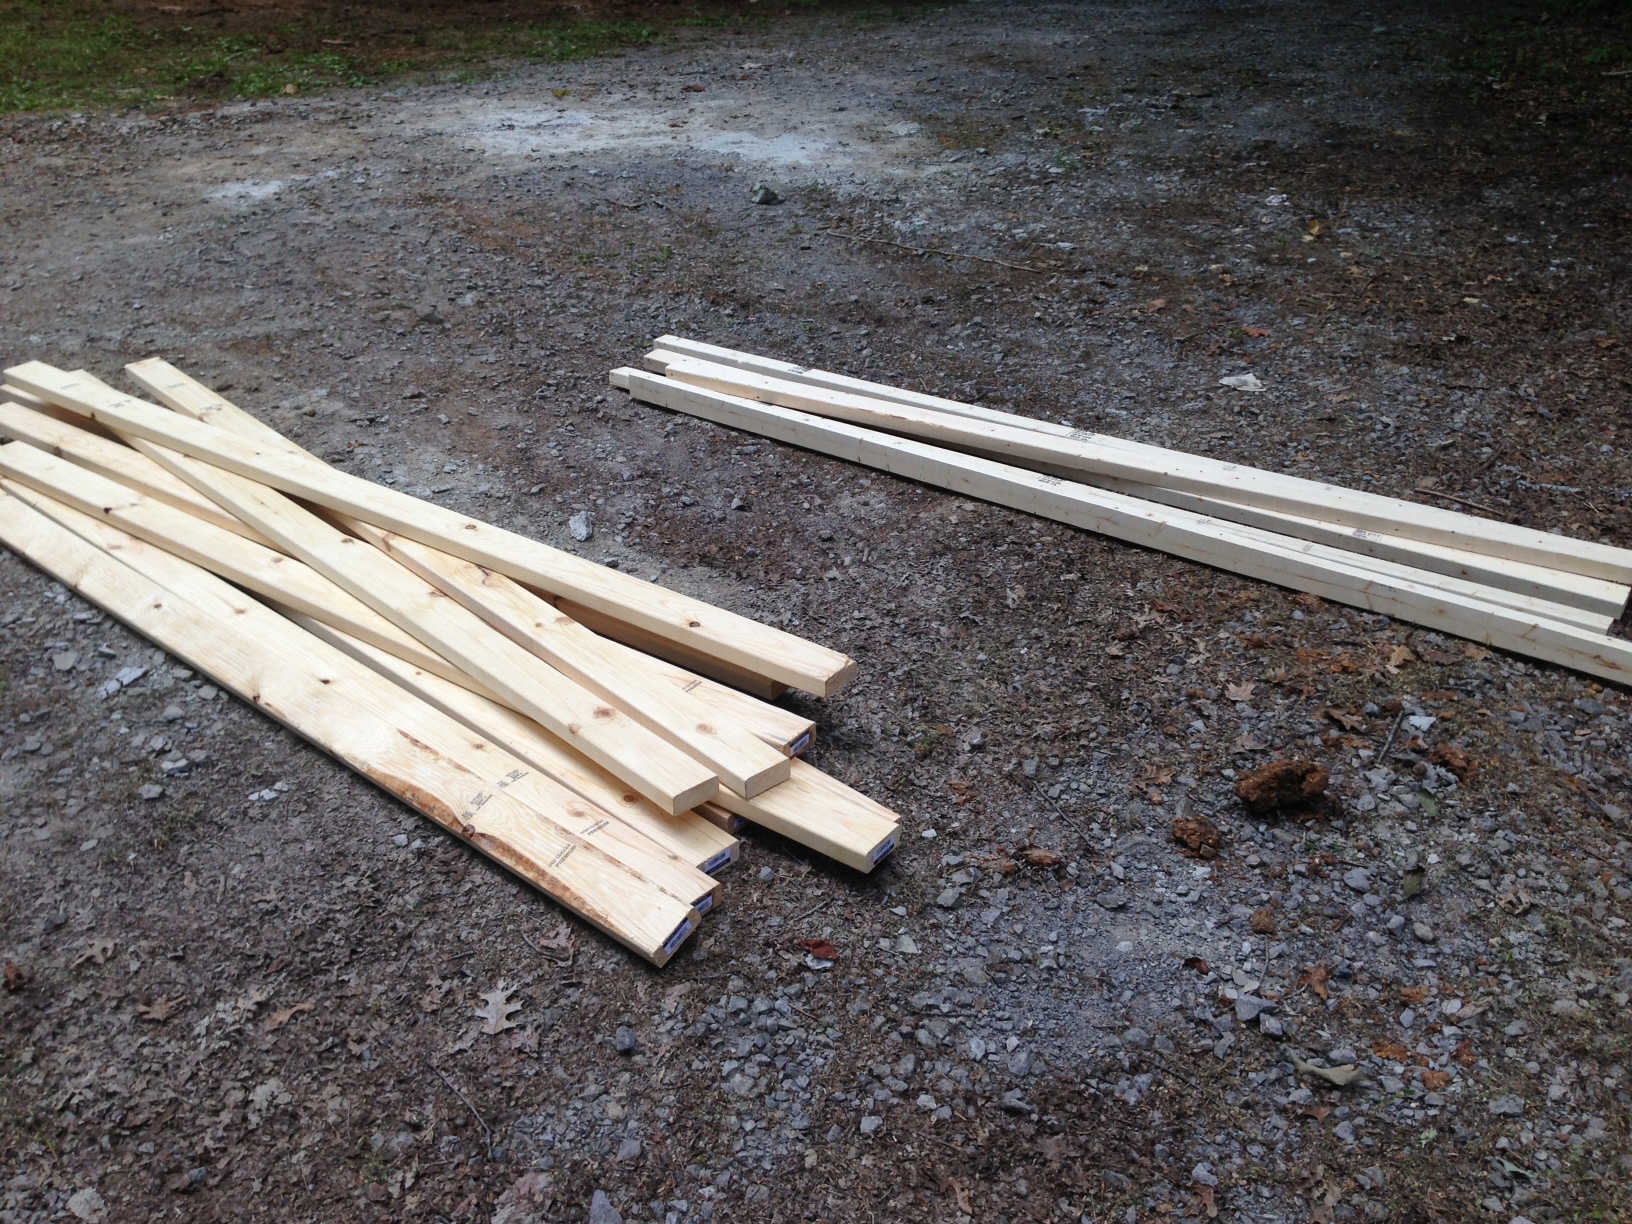
I have a good amount of scrap wood leftover from our house, but not a lot of good clean 2×4’s (or studs, as those of us in the know call them; my constant joke when trying to find a stud is to simply say “I’m right here.” Always a crowd pleaser, amiright?), so I picked up a handful from Lowe’s. I also picked up some 2×3’s because I thought it would be more efficient to make the run out of those to keep it light. Looking back, I should have gotten only one or the other – not both.

Getting Started

I kind of drew up a plan – to the point that I could figure out about how many studs I would need.  I didn’t follow that plan very long, because of the following reasons:

  • I was not building a house, so I didn’t need to have studs every 16 inches
  • My plan was not very good, and I left out just about everything I actually needed

One thing I thought I knew for sure is that I needed 4 square feet per chicken in the coop, and 8 square feet per chicken in the run.  (My brother informed me that I actually needed 10 sq ft in the run, but I was close!)  I decided to go a little tight on those numbers, though, because I want to build a stationary coop and run big enough for 20 or more feathered friends – so this is simply another step along the way.  The main reason for keeping it tight is because since I was building a chicken tractor – meaning I would move it around as they eat everything in the patch of grass it contained – I didn’t want it to be huge and hard to move.  It’s still pretty huge and hard to move even at its current measurements.

IMG_0626

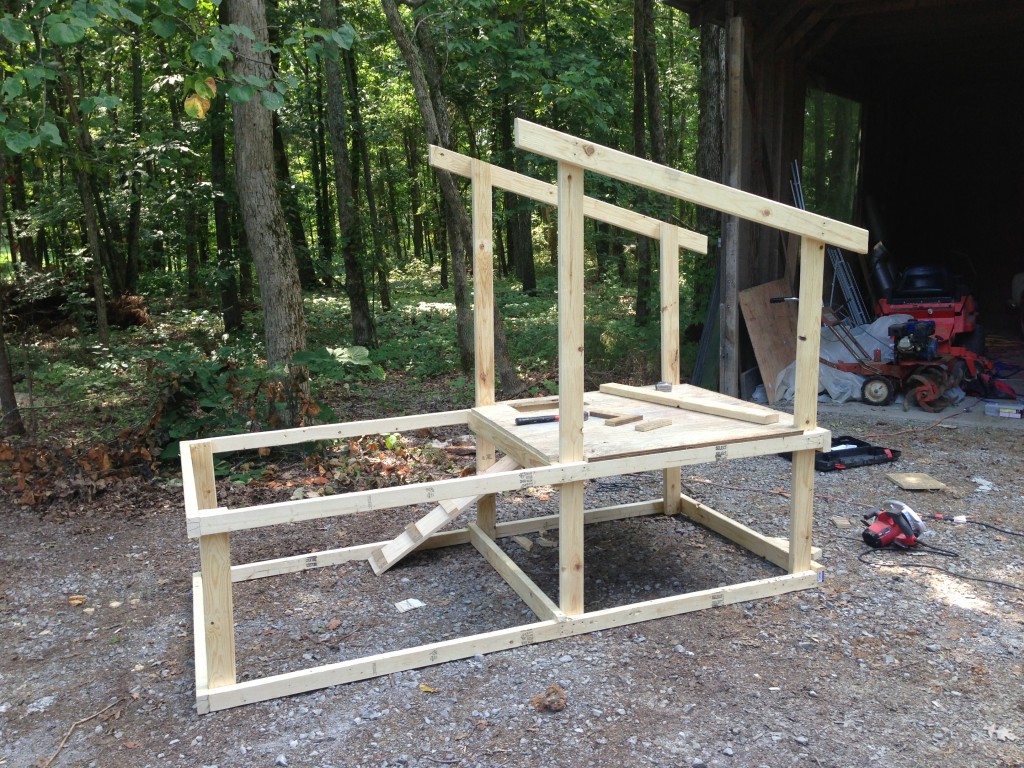
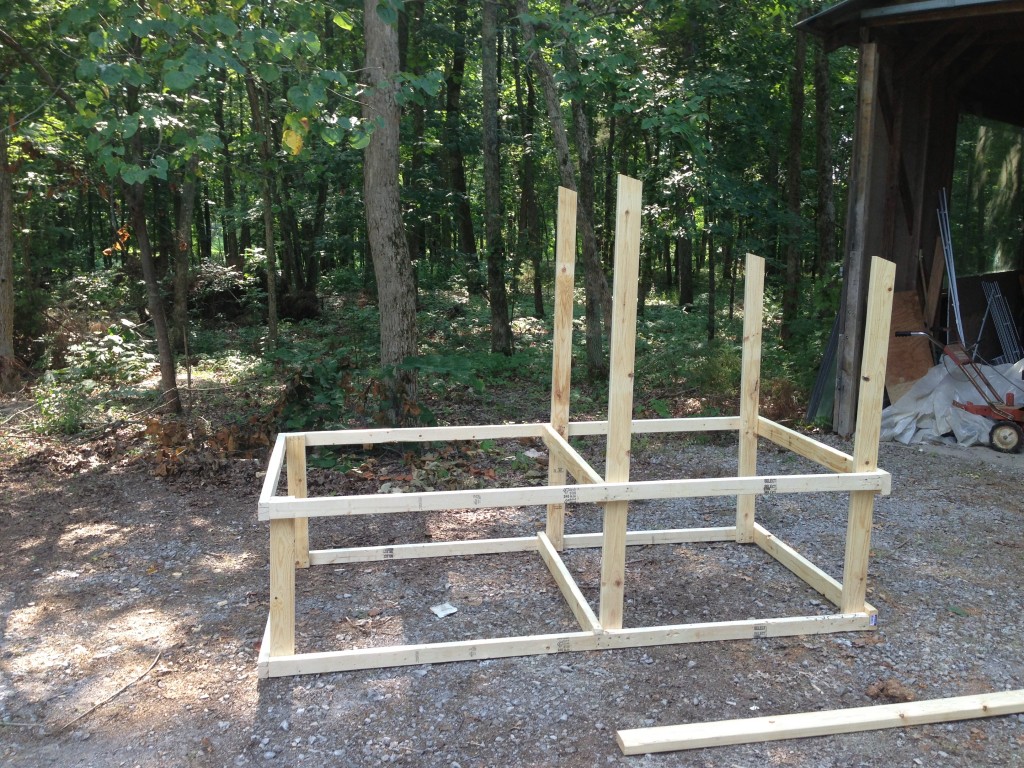
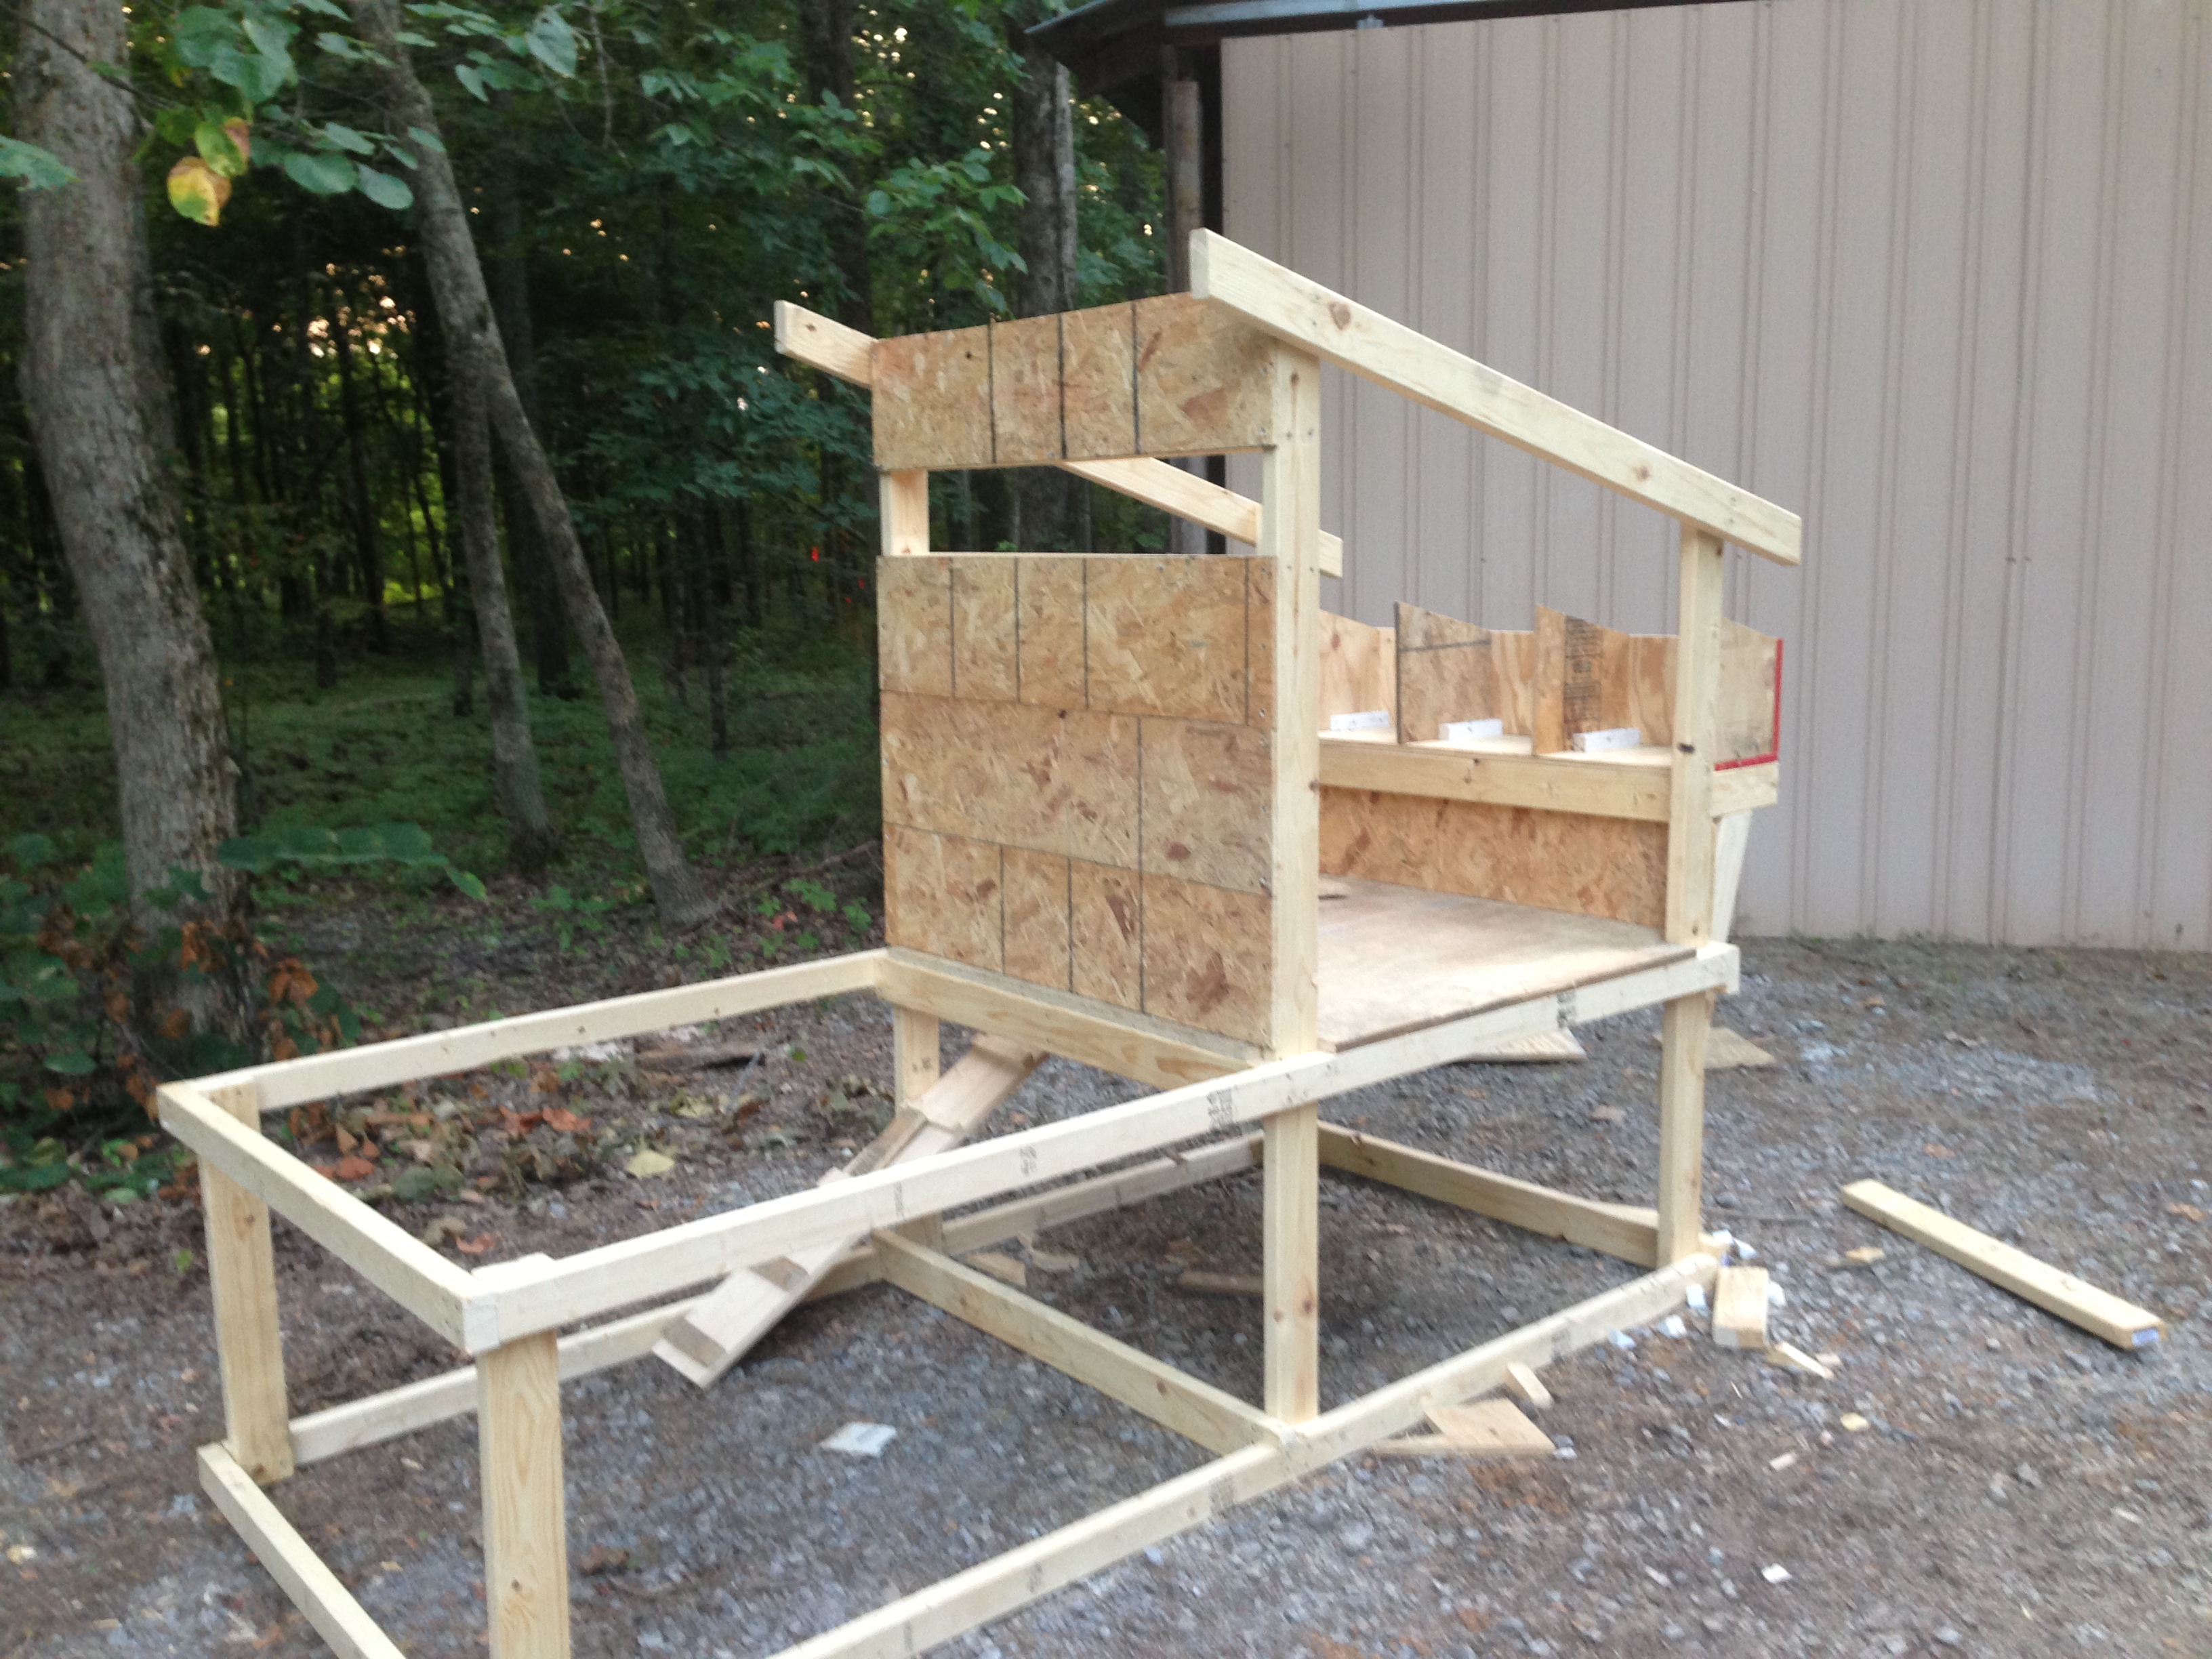
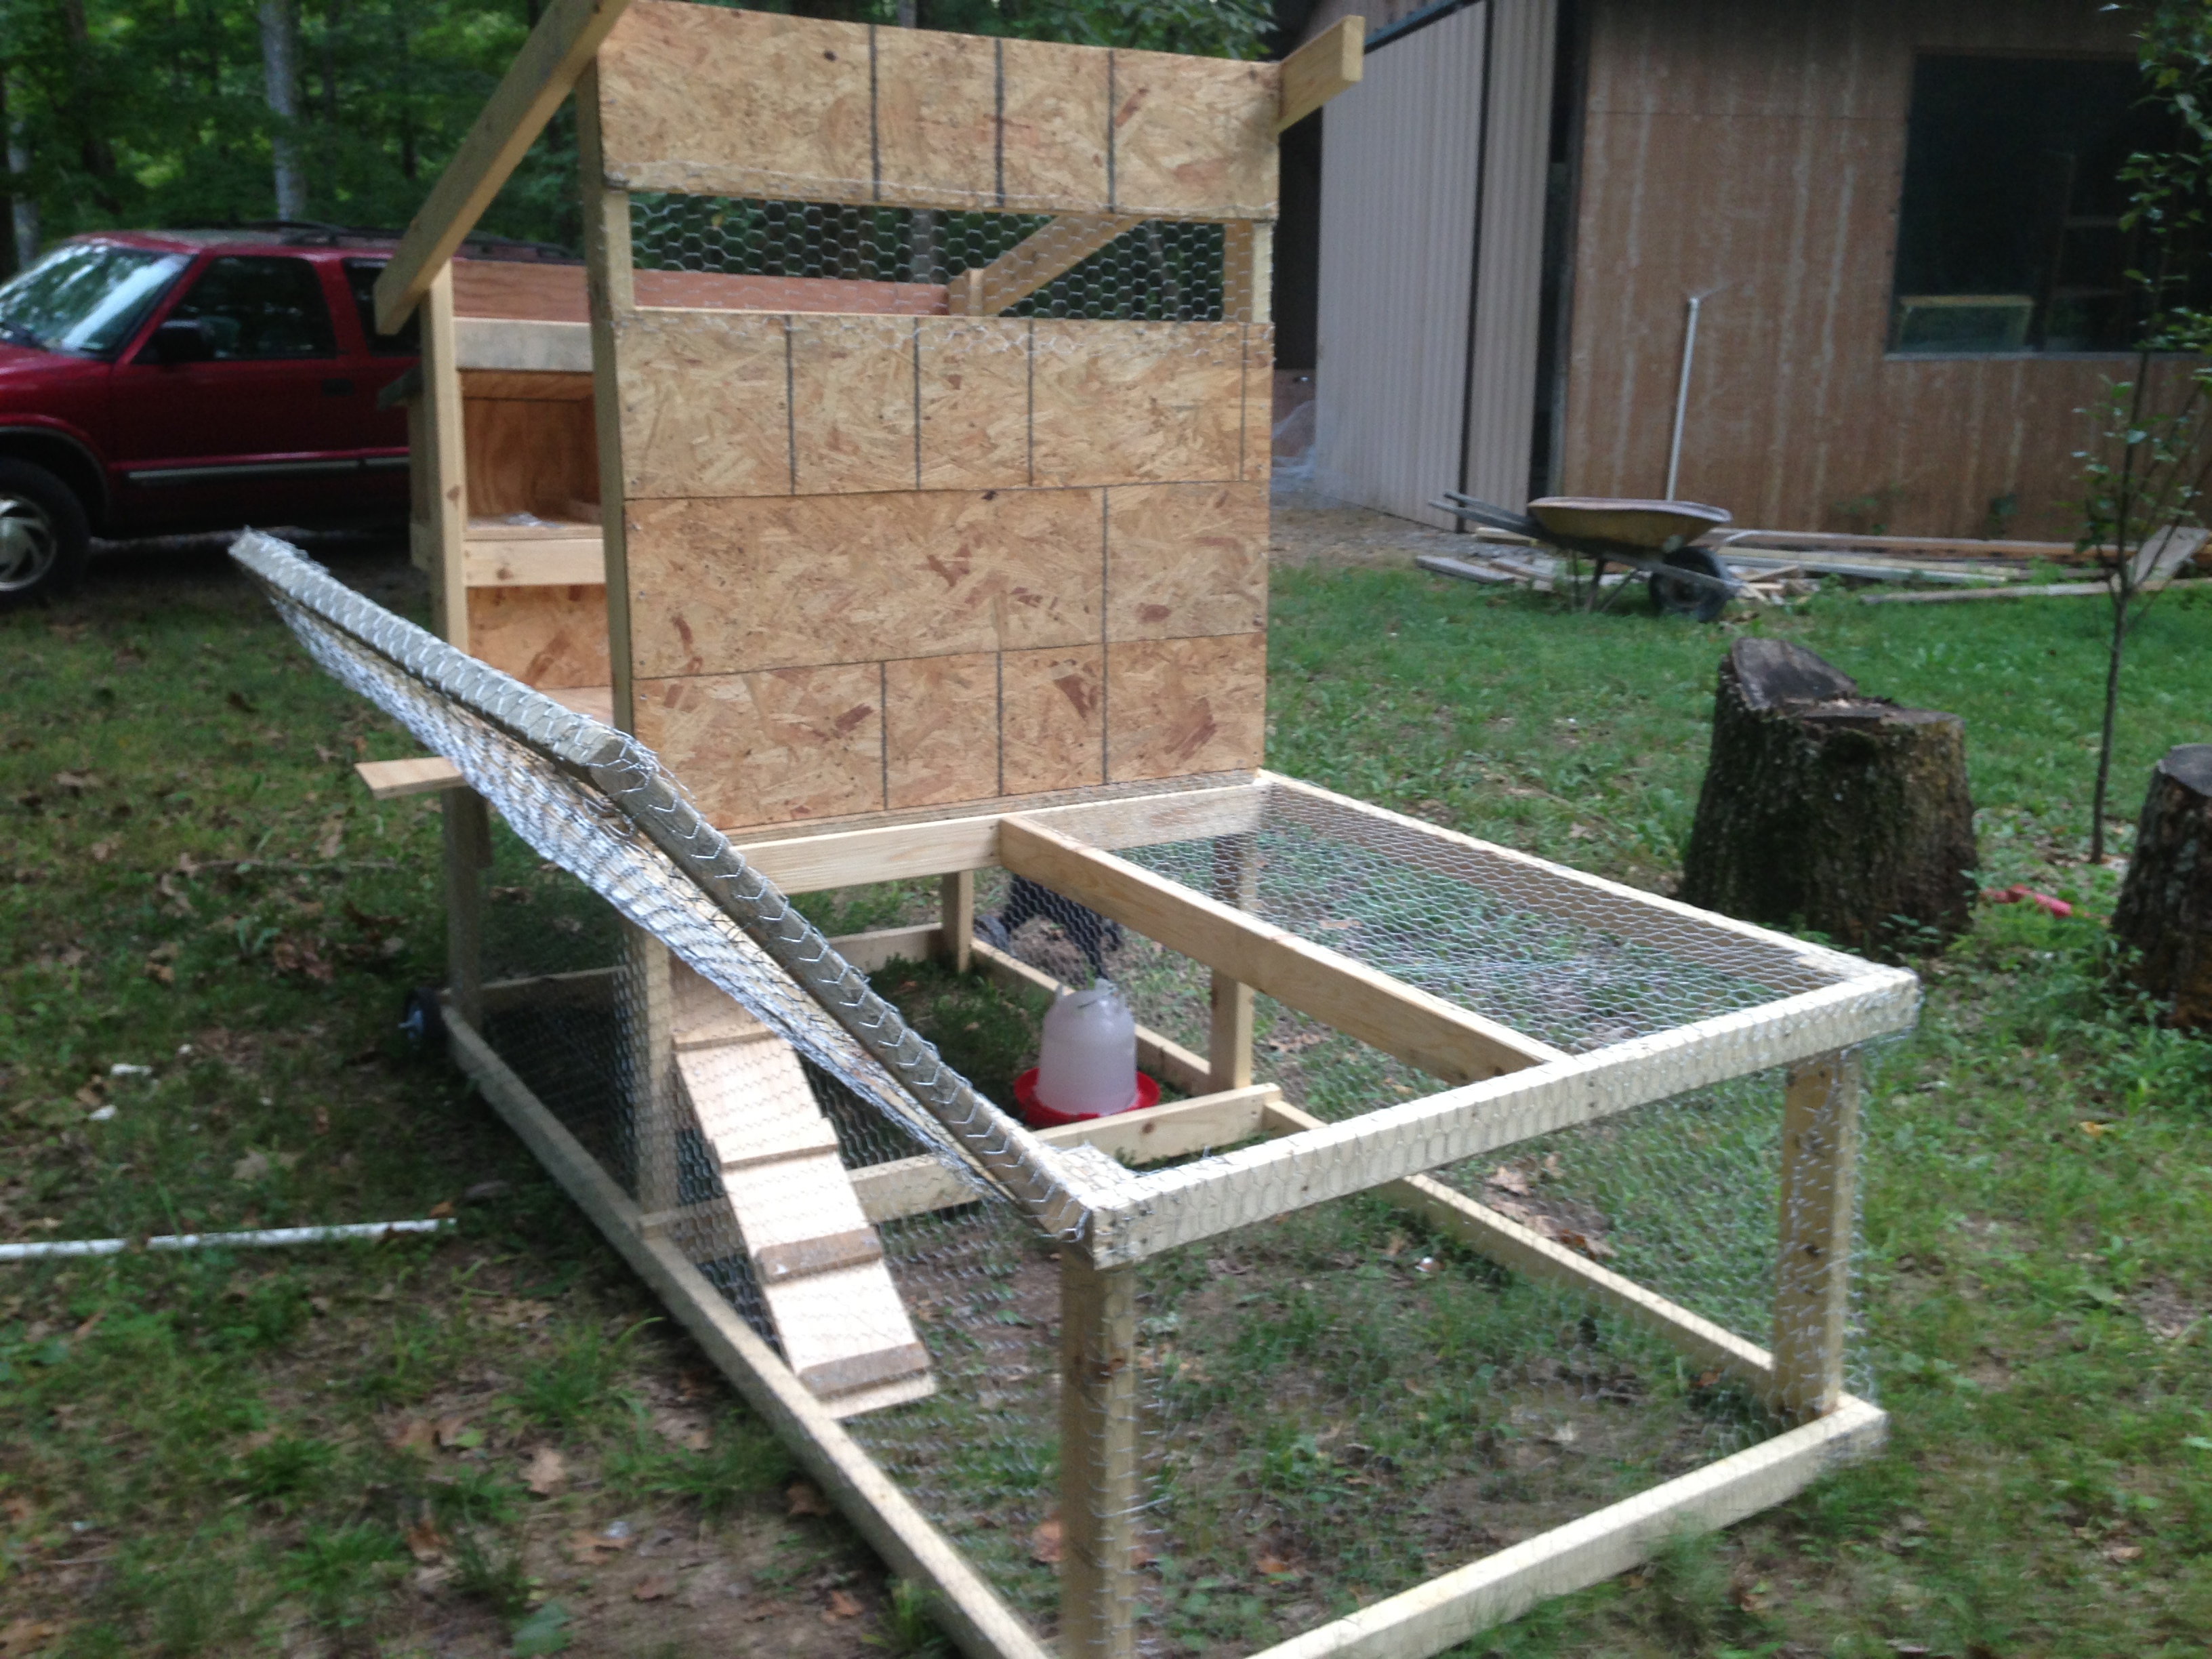
Probably not the right way to add a roof – but again, these are chickens, people.  I decided on a run at 8’x4′, and a coop that would sit on top of half that – that way I could keep it fairly compact while not sacrificing the space on the ground.  You might or might not be able to see the differences in the 2×4’s and 2×3’s, but I started getting nervous when I got to joints that were made with the two types of wood.  It ended up being fine, but I had to finagle them a bit.

Hopefully you won’t see from the pictures that it’s definitely not squared up.  Almost none of the angles.  But I blame it on working on an uneven surface.  And also on the fact of never checking to make sure my angles were square.  Lesson learned.

IMG_0627-edit

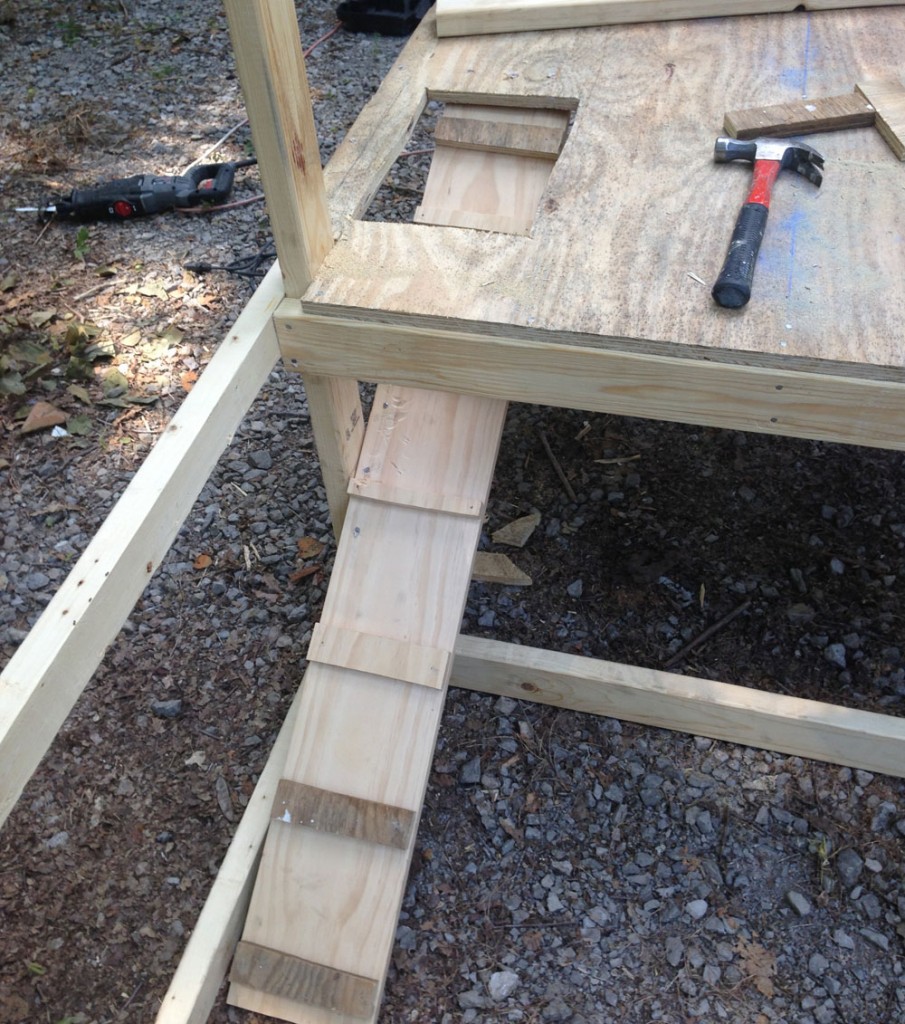
There’s a better picture of the ramp, which is braced by a couple 2×4’s nailed into the coop floor and the corner board.  It’s mostly made from scrap, but they don’t seem to mind.

IMG_0628

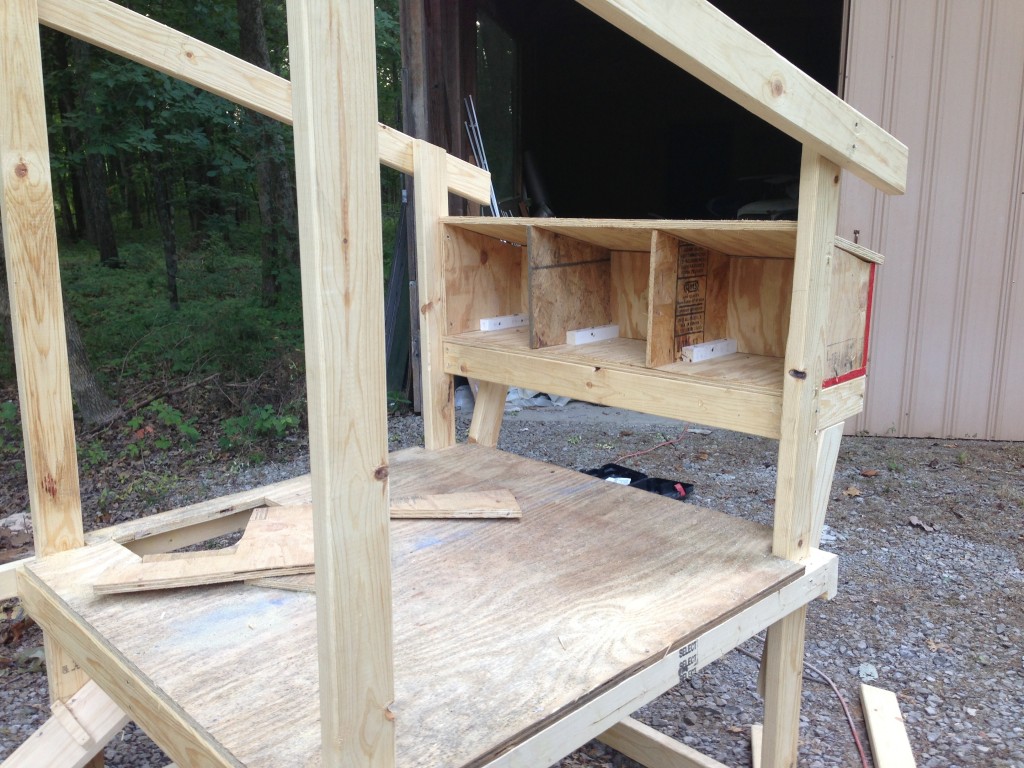
I pretty quickly realized that even though I planned on having nesting boxes that were accessible from the outside, I hadn’t planned on it.  I had to add the braces because they were sagging pretty badly – and I figured that adding the weight of birds and eggs and bedding would not somehow lighten the load.  I’m pretty proud of how it turned out, though, after calling my brother a couple times and doing some research on the interwebs.

IMG_0630

Some of the “finishing touches.”  Kind of looks like a fort – like the ones that my brothers and I used to build in my parents’ basement when we would launch empty plastic bottles at each other.  If I had this fort, I would’ve been unstoppable.  Which is not to say I wasn’t unstoppable without it.  (Ok, I was not unstoppable.)

IMG_0634

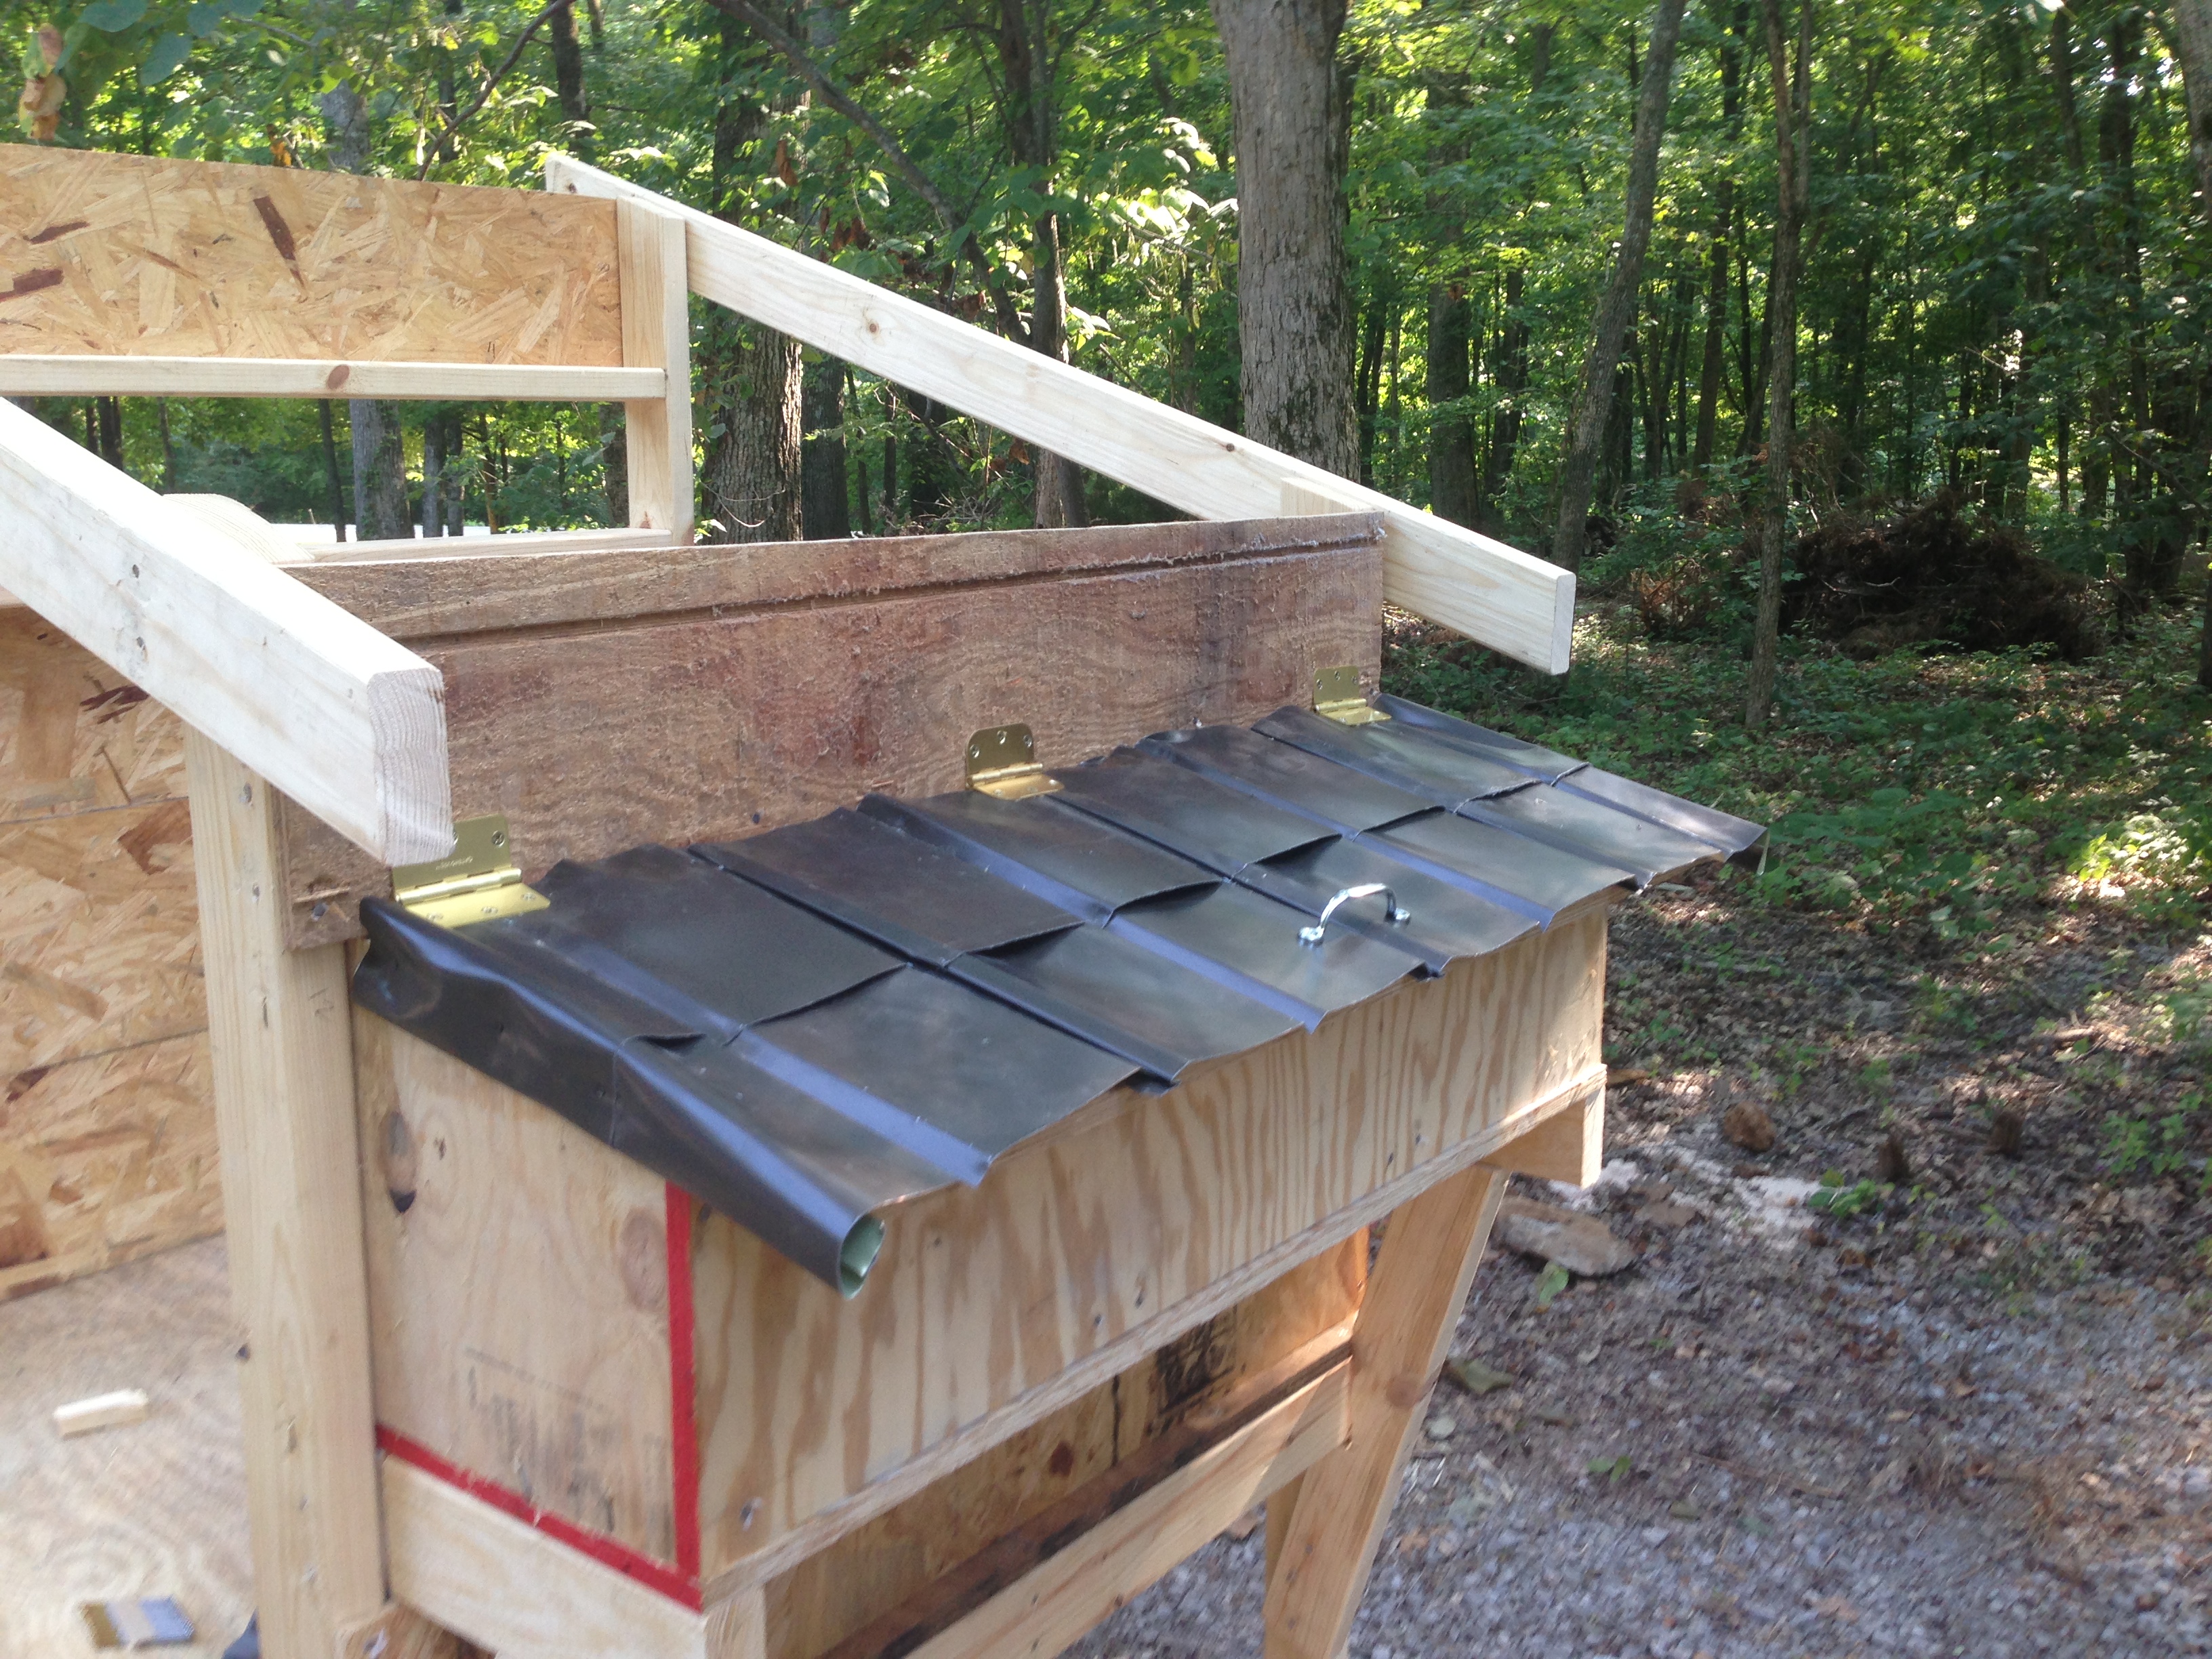
It’s really ugly and probably dangerous, but I have a lot of metal flashing leftover, and wanted to make sure my nesting boxes were super weatherproof.  Just don’t touch the edges.  Or if you do, make sure your tetanus shot is up to date.  It took a long time, because most of these pieces were cut off after they were formed together, so I had to pretty much unform the edges to form them again.  And because I’d never done this before.

IMG_0636

I added some 6 inch lawnmower wheels to be able to move it around.  However (spoiler alert), I ended up replacing them with 7 inchers, because the smaller ones weren’t easy to work with on uneven ground.  The larger ones lifted everything off the ground just enough to keep me moving, but not enough to worry about leaving enough space to let them shimmy out.

IMG_0640

Here ’tis with all the chicken wire on the run – which was a very tedious and laborious process.  I had to cut each individual wire, and then staple almost every individual wire.  If someone knows of a better way to do this, please let me know in the comments – because I feel like the way I did it can’t be the most efficient way.  This is also a peek at the new waterer and feeder, because…

IMG_0646

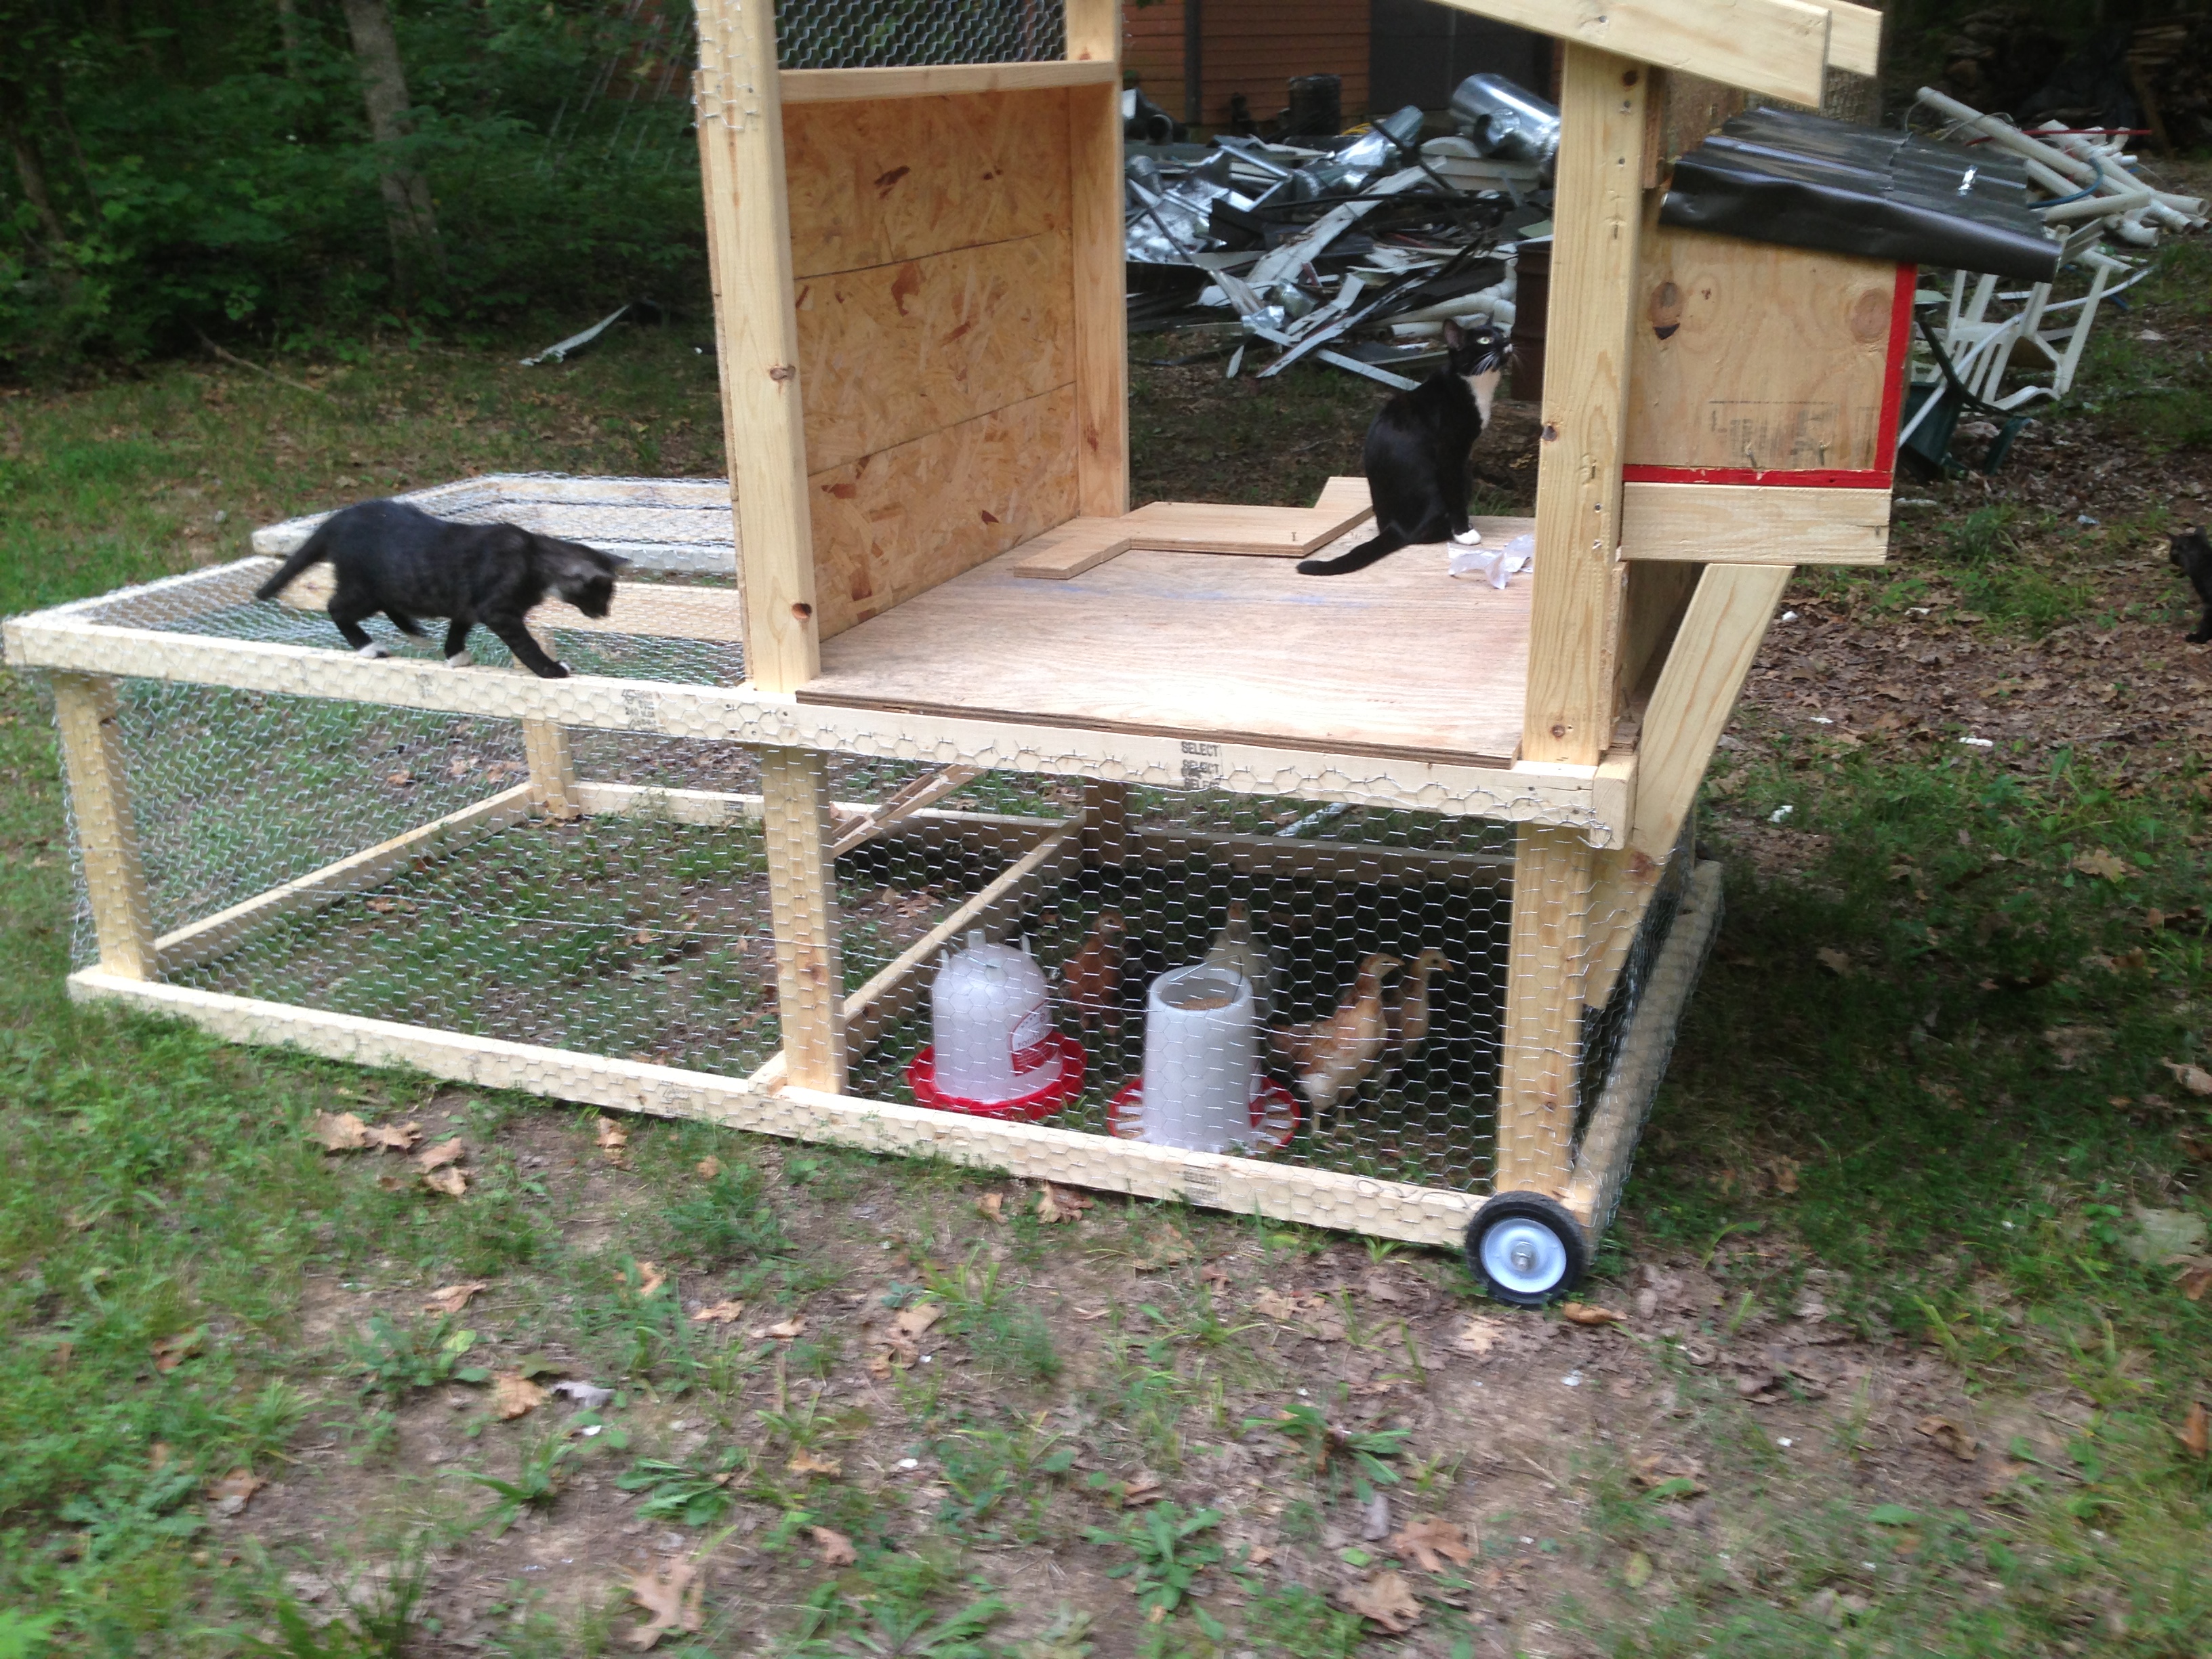
I just couldn’t let my birds sit in a cramped box when I basically had a finished run for them.  I screwed a piece of wood over the coop entrance and put them inside.  After a time of obvious confusion (they had only ever seen a roof above them and sand/paper towel below them – never the sky nor grass), they were super excited to run around.  As were my cats.

I was nervous that the cats would get aggressive with them (one of my cats, while pregnant, chased down a squirrel and ate it), but they seemed to simply be curious.  I kept my eyes on them for a while, but they apparently like to watch the fowls just as much as I do.

IMG_0662

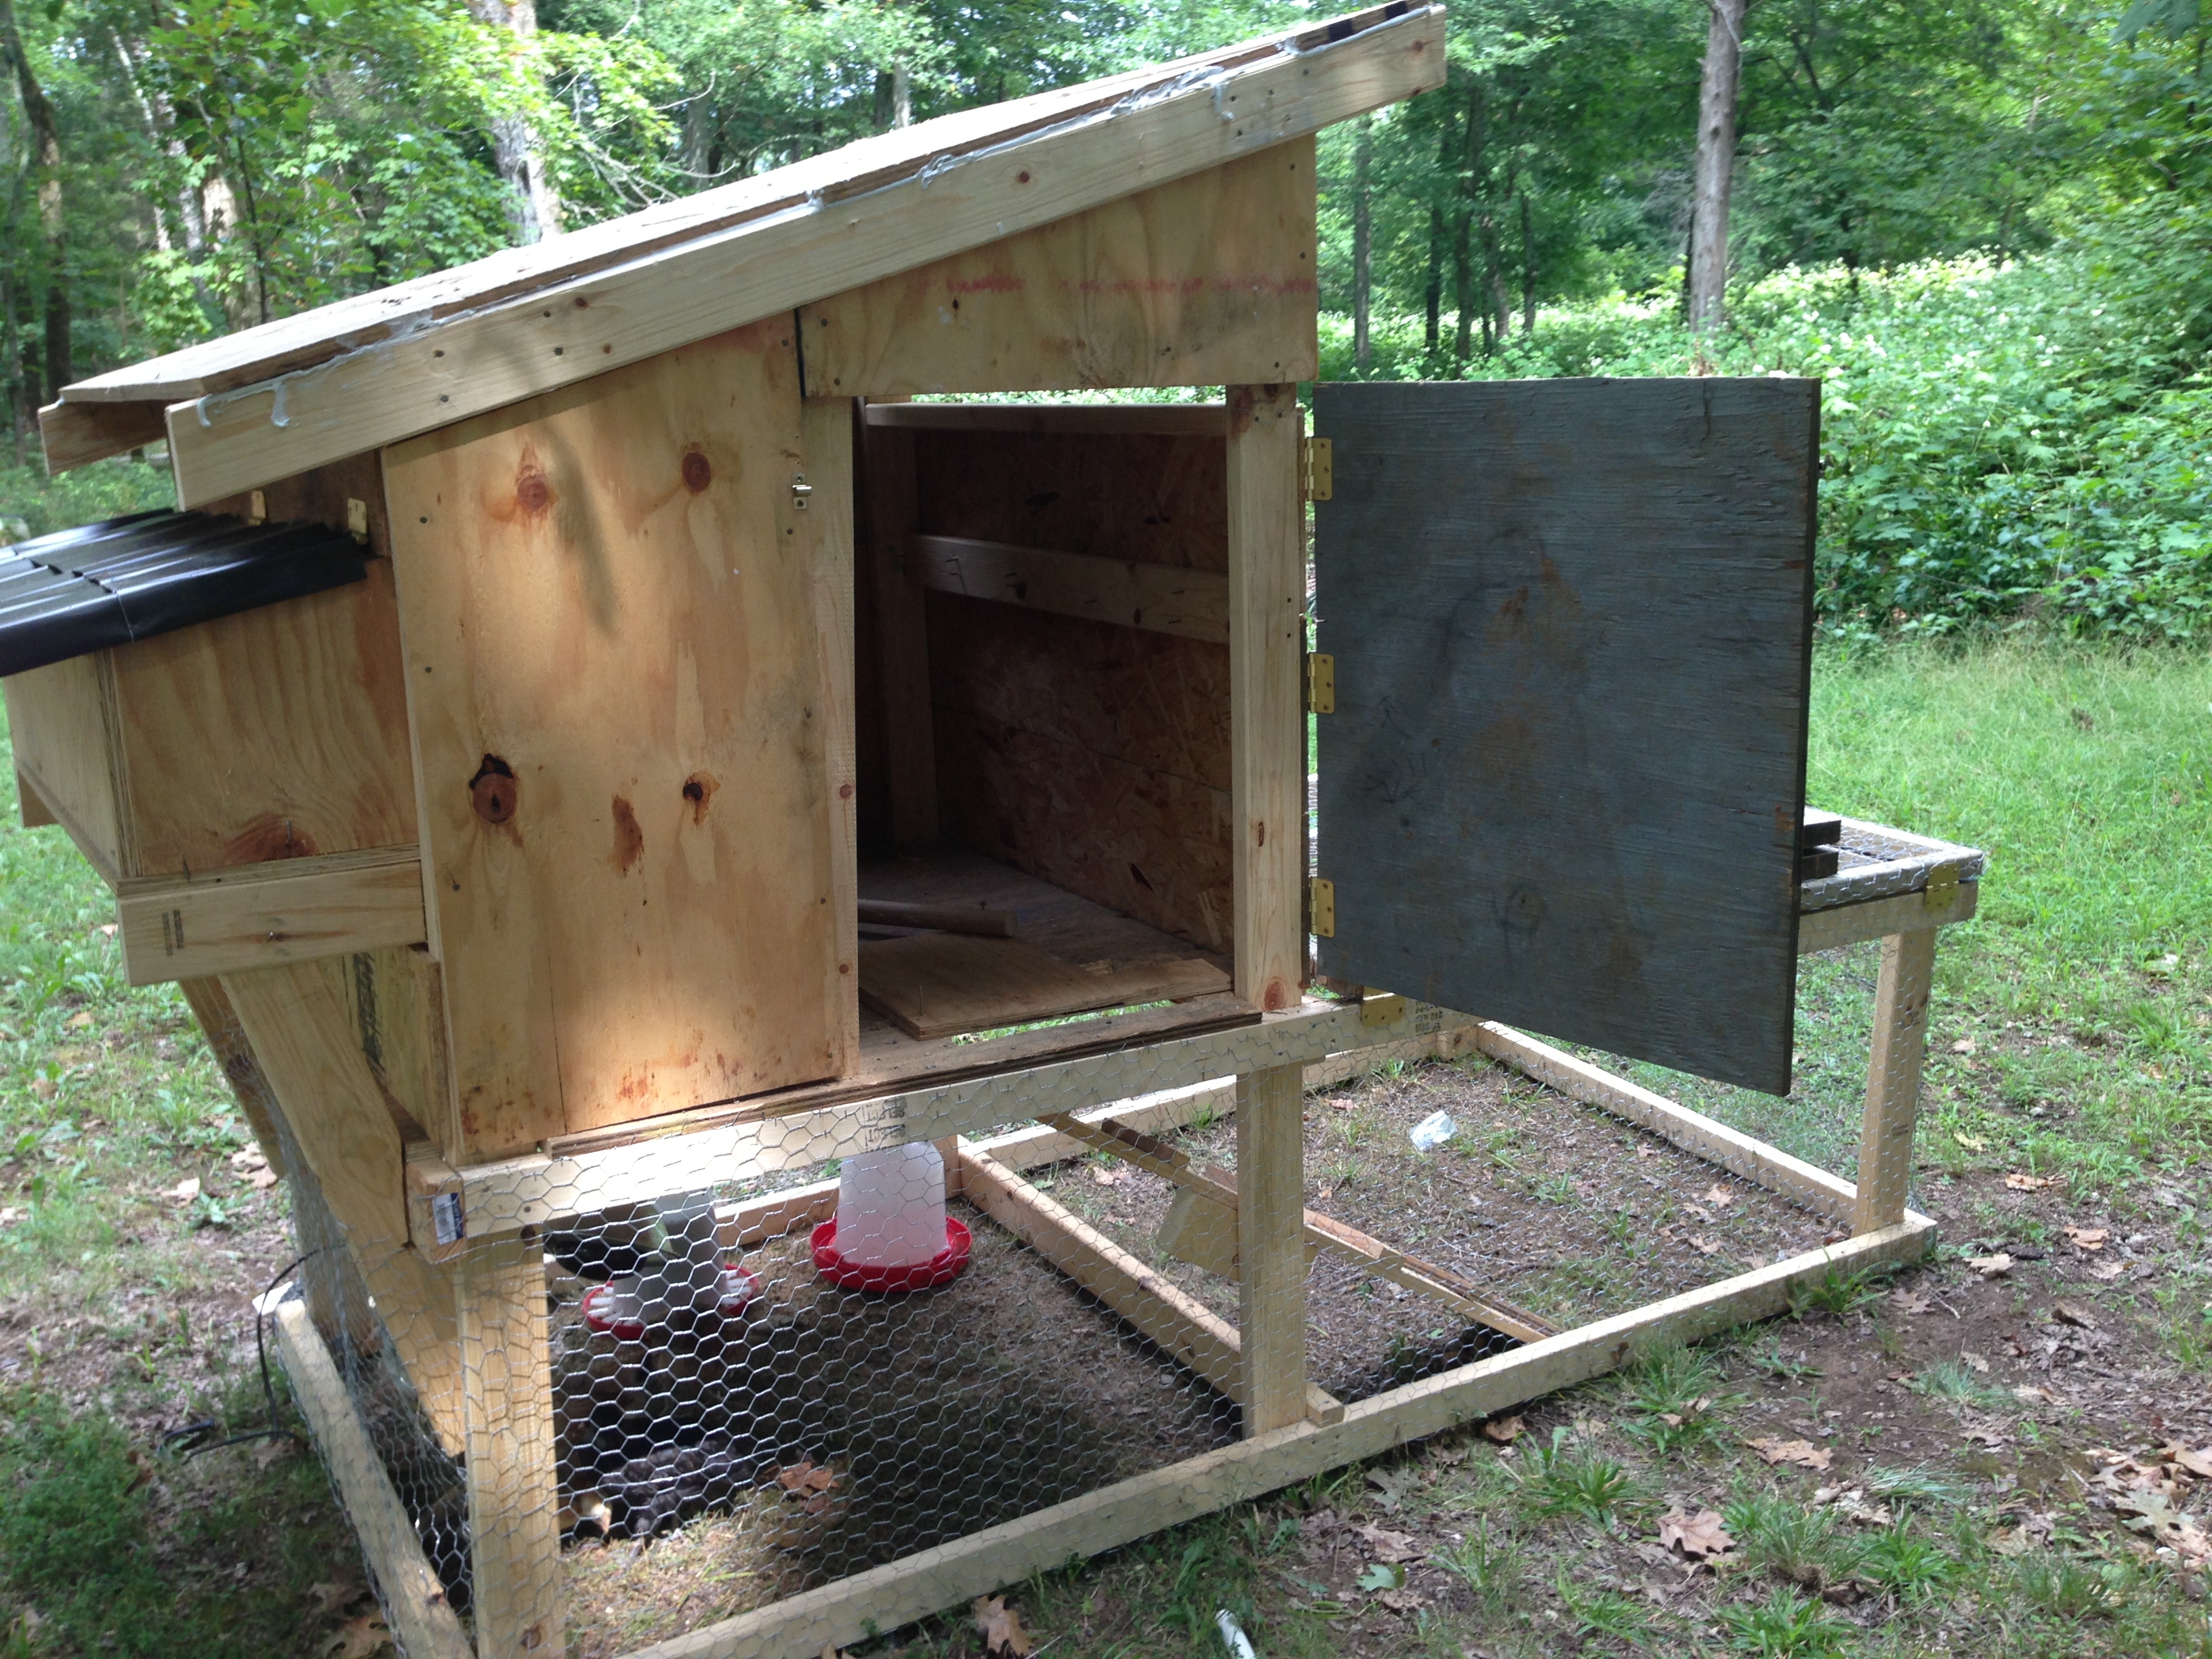
Almost done!  Added a door, walls, and a roof.  I also added a few more 2×4’s to brace those things (but did it after I had much of the plywood on, so they’re not included in the ‘skeleton’ pictures.  I sealed up the roof pretty well with caulk (the contractor’s version of duct tape), but later added some roofing paper to make sure and keep the leaks out.

IMG_0664

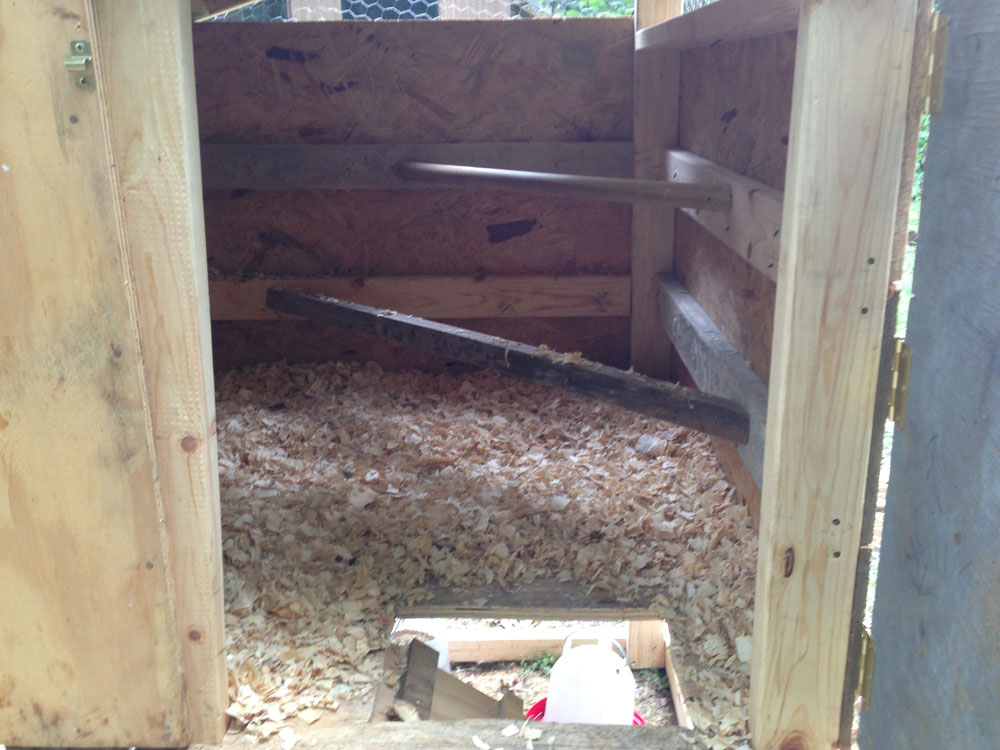
There’s another thing I forgot – roosts!  It’s a chicken’s natural instinct to sleep off the ground to keep away form predators, so this was another thing that I was planning on, but didn’t include in my plans.  I ended up adding some more 2×4 braces – which is much more difficult when all of the walls are on.  Then I just cut some 45° angles on some roost-ish wood I had and drove some awkward nails.

IMG_0672

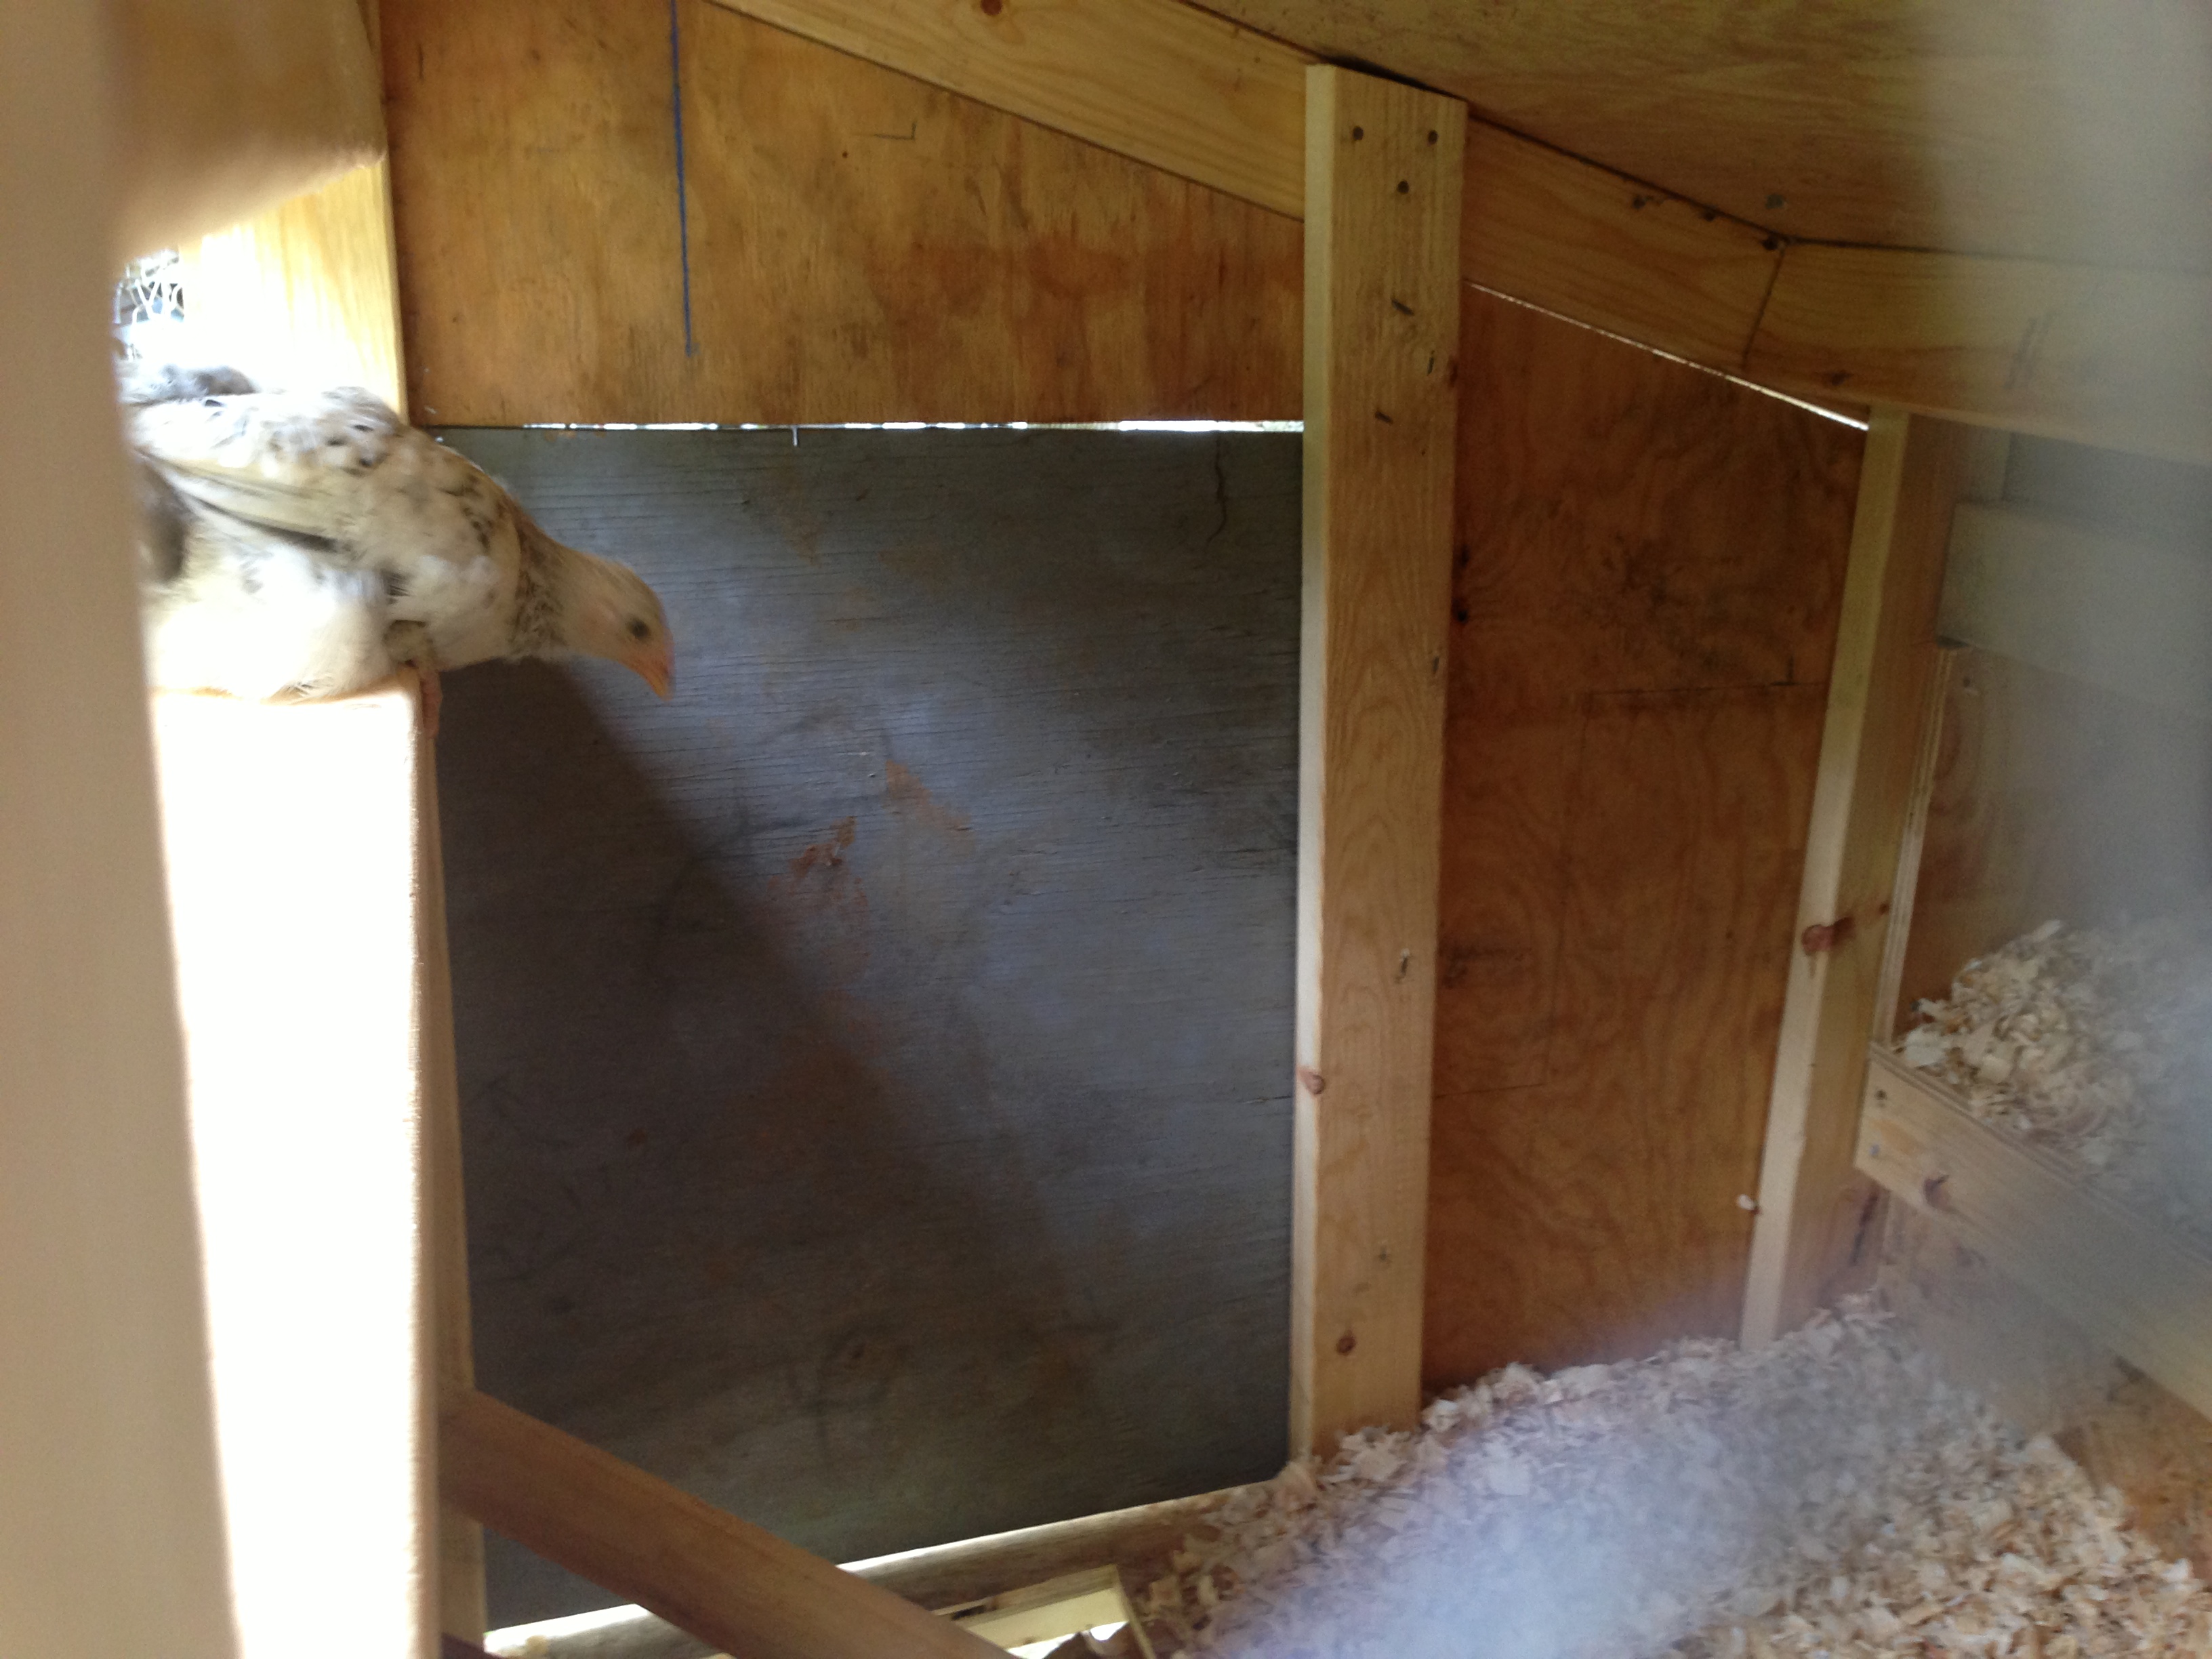
I added some bedding, and voila!  One by one, they started figuring out that their home had doubled in size.  The first to find it (a rooster, I think) wanted to see just how high he could get.  Luckily, as soon as he got to the highest point of the coop, he pooped.  Thanks for the commentary on the craftsmanship, big guy.

IMG_0682

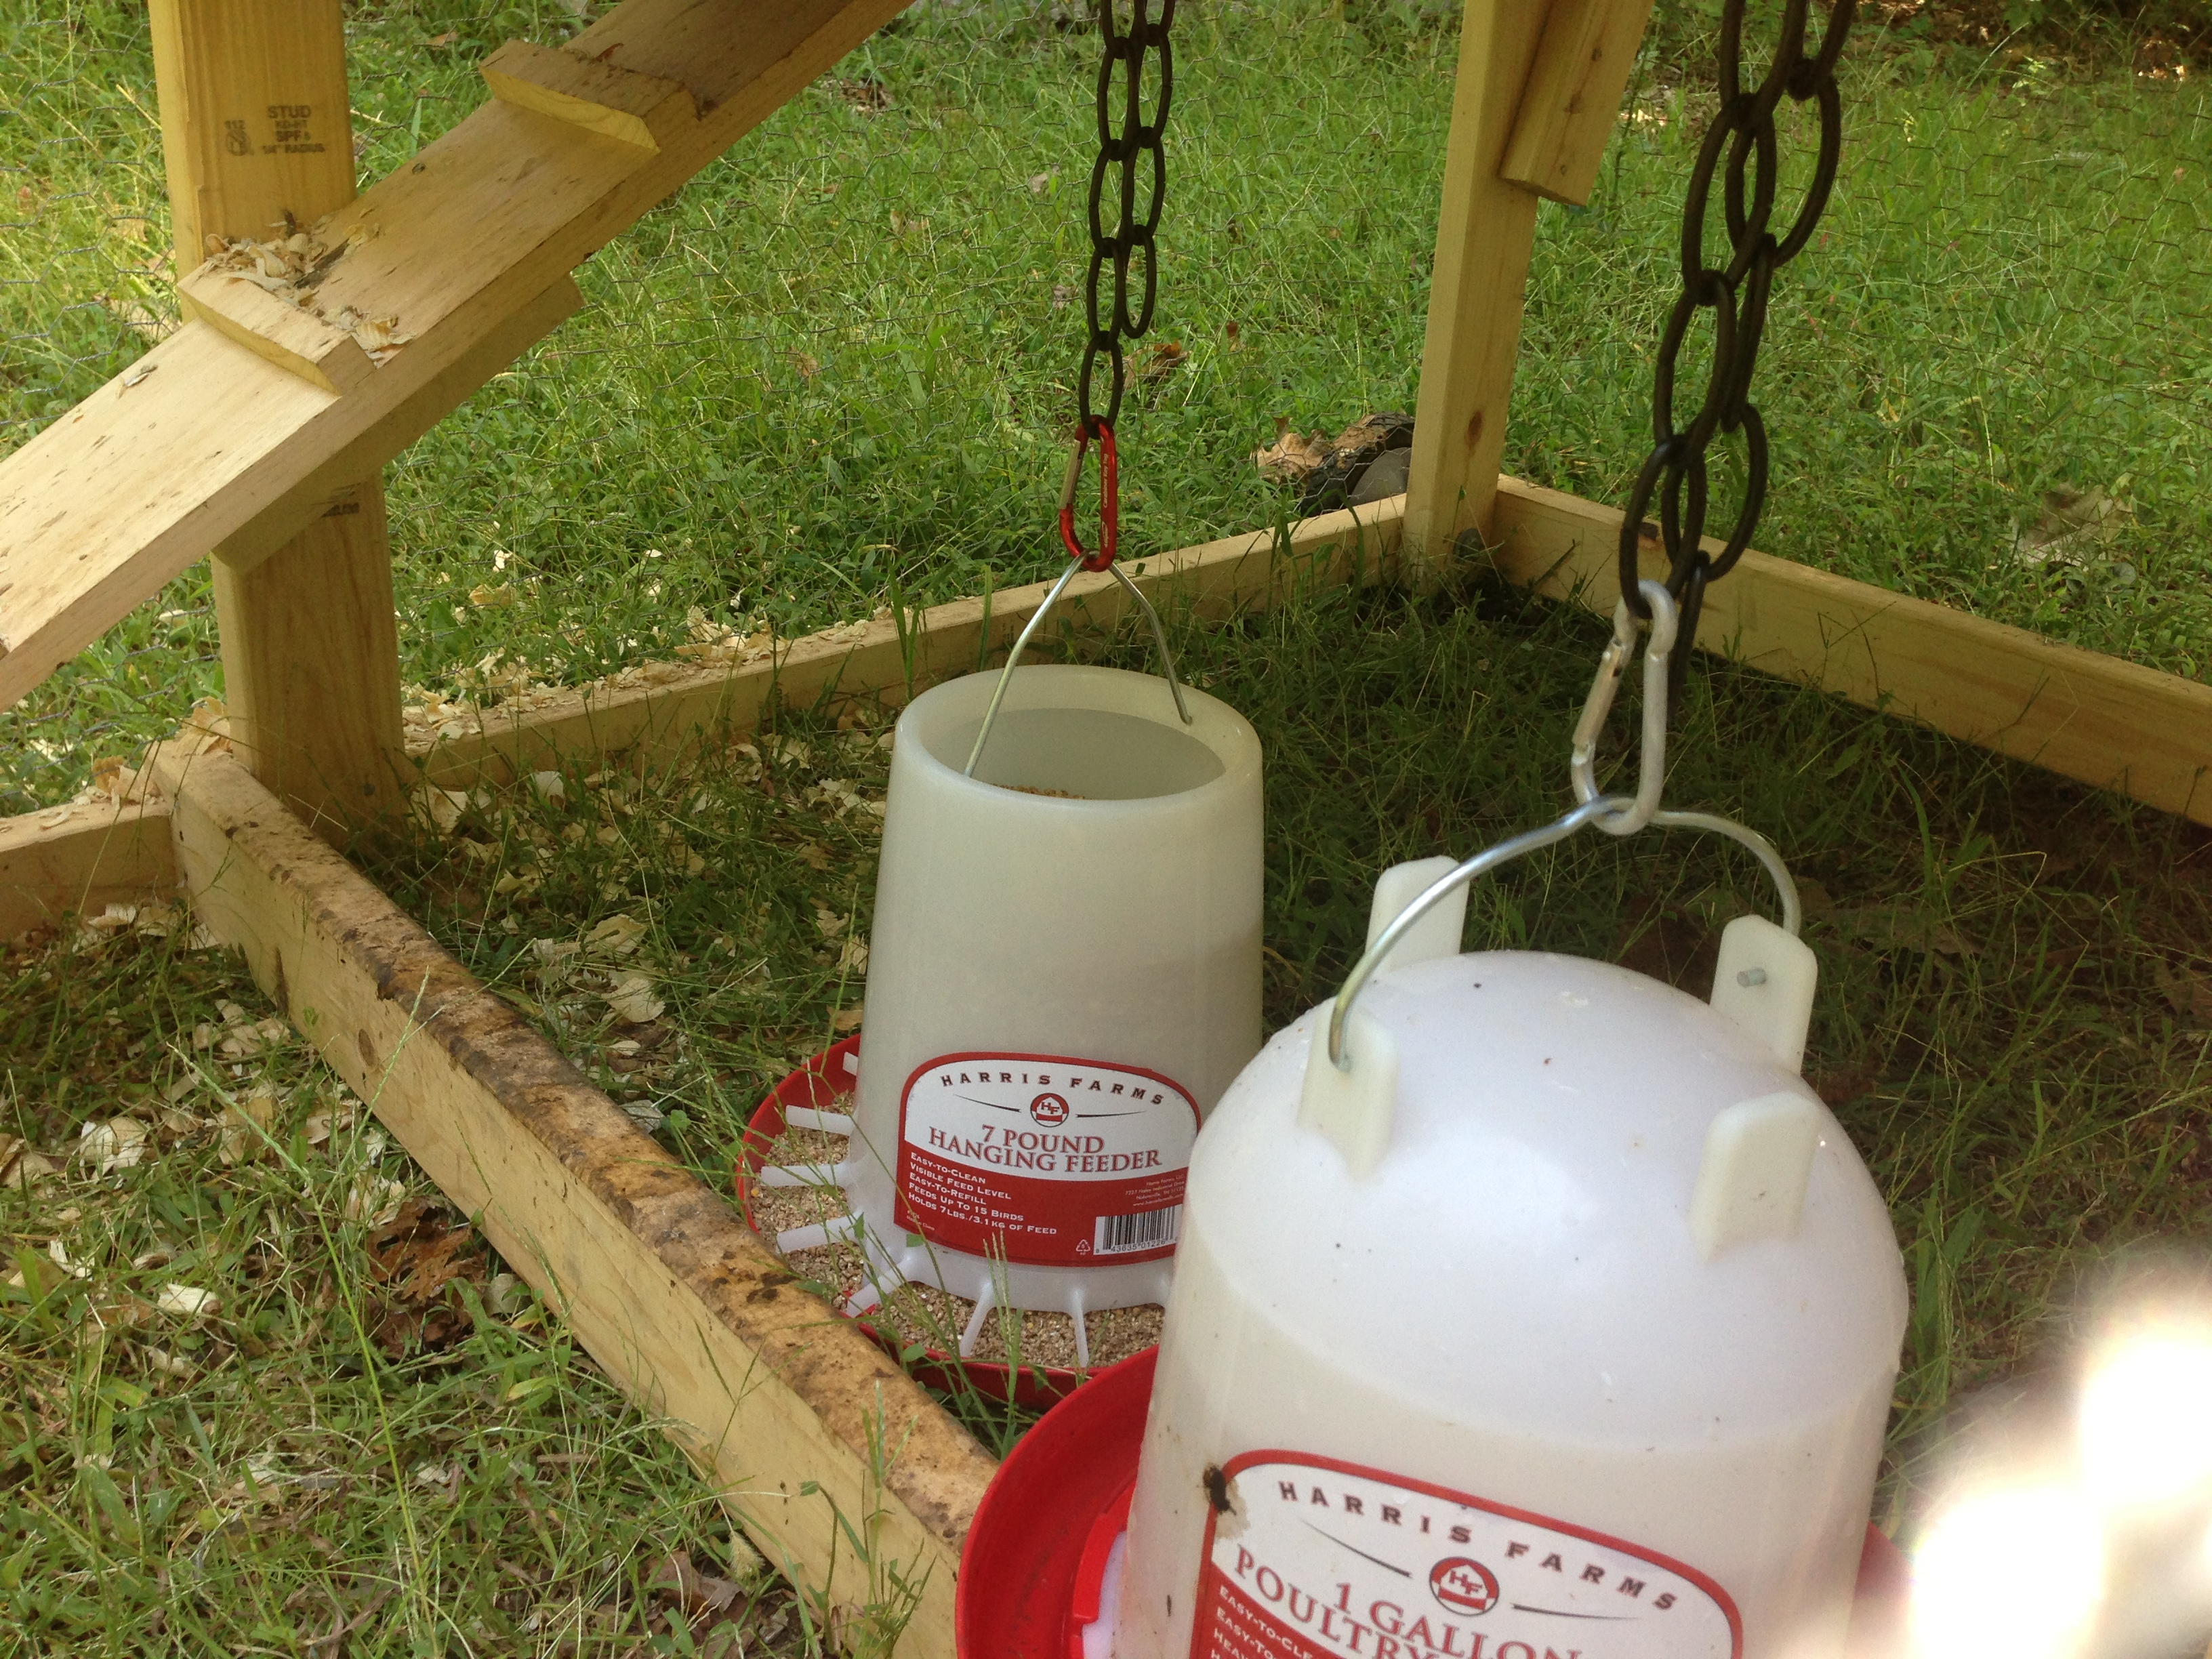
I also added some chains to the waterer and feeder so that I wouldn’t have to take them out to move the tractor, and also to try to get them to stop pooping in both.  Because they do that constantly.  That can’t be healthy.

Funny story about the bedding: I went to Tractor Supply for the waterer and feeder, and told the checkout guy that I wanted to buy some pine shavings (which were outside the entrance).  He asked me if I wanted flake or fine shavings, and I just randomly said fine.  A guy who walked in, but had paused to watch me check out (creepy…) said “You want the flake.”

I simply said “Oh?” with a surprised look on my face.  “For chickens?”

“Yes,” he said.  “The fine stuff will fall out of every crack in your coop, and you’ll have to add more all the time.  The flakes will last longer.  I noticed your feeder, so I figured I’d help you out.  This is my third year.”

Ah – not so creepy now.  I said thanks and told the checkout guy “Flakes, please.”  I definitely see how flakes are better now – especially because I’m still losing a lot of it through the hole by the ramp.  I think I’m going to build a small ‘fence’ around it so that it won’t fall out so easily.

Now that I’m a farmer I feel like I’m in a club.  A club where, when I’m at Tractor Supply, random people – who are passionate about some of the same stuff – will gladly look awkward for a moment to help a brother out.  Same for bee keepers…  Every single one that I’ve talked to has been super excited to help out and show me anything I want to know.  Reminds me of a simpler time, growing up in Cairo, Ky, when everybody considered you to be a neighbor even if you were a 20 minute bike ride away.  Hopefully, I’ll have some awkward wisdom to give to someone at Tractor Supply before too long.

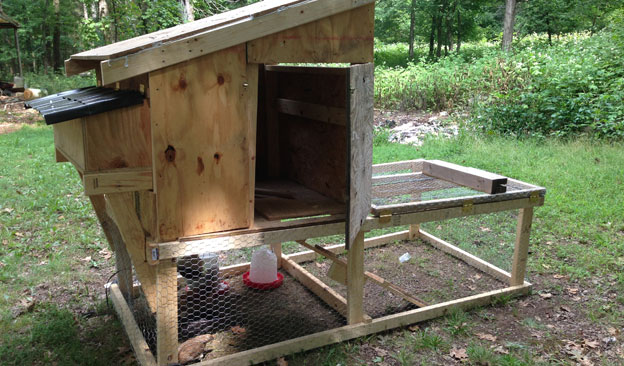
Here’s a mini tour of the Coop d’etat:

Bee Aggression, Chicken Detective

A lot has happened since my last post – here’s a quick list:

  • I was away from the real world at Camp Loucon for a week
  • My band shot a video (we’re actually not appearing in it, and I was just the guy holding a sweat rag for between takes)
  • We realized out that our construction loan was expiring in August, so we scrambled to get everything in order to refinance the loan to a normal mortgage.  (Don’t worry, Dave Ramsey – it’s a 15 year, and we have more than 20% equity in it!)
  • Part of what we had to get in order was the house.  So, we quickly tallied up what we had to get done to have an appraiser come by.  Another list!
    • We had to pour the concrete for our front porch and sidewalk
    • We had to fix the septic tank cover that broke when the concrete truck drove over it while pouring front porch and sidewalk (which involved me pouring a literal ton of concrete – yes, over 2,000 pounds – after my uncle helped me form a new tank lid)
    • Putting all the hardware on the kitchen cabinets
    • An immense amount of painting, staining, and polyurethaning
    • Lots and lots and lots (and lots) of general fixes around the house
    • Cleaning
    • Anything else not mentioned above that might make a big difference in an appraisal
  • Multiple trips to various county government buildings to pull or file forms needed for closing, requested from my bank AFTER they needed them, which has resulted in pushing back our closing date twice.

On Friday we got our final inspection from the county, and the day before we had an appraiser come out.  So – barring anymore stupid requests from our bank (we’ve not had great experiences with them, so I won’t link them or give their name – ask me if you want to know who to avoid), we’re DONE!

Back to what I know all of you have come to see…

My Bees are Trying to Kill Me

I guess it’s only fair that my bees are ramping up their venomous attacks on me, considering I kill a few of them each time I move their homes…  When I first got stung, I had fairly minor swelling (not to mention a fever and convulsive shaking), so I assumed that future stings would give me less of a reaction.  On the contrary – I’ve been swelling way more.

First – how I got stung:

A few weeks ago, I was inspecting my hives like any normal computer programmer does.  It’s been a surprisingly cool summer in middle Tennessee, but that’s not to say it’s cold, but rather low 90’s.  When I do my hive inspections, I wear long sleeves, long pants, long gloves and a bee veil.  As such, I get very hot.  And I sweat.

There have been a number of times that I have mistaken sweat slowly dripping down my leg as a bee, and had to calm myself down at the thought of a tiny stinger zeroing in on my nether regions.  “That’s sweat moving down, David,” the inner dialogue usually goes, “bees would start at the bottom of the pant leg and move up.”

But this time…  This time the sweat was moving up.  Wait – not sweat.

I honestly didn’t know what to do.  At first, I just thought I’d leave it alone – it crawled in, so maybe it will crawl out.  When it got to my inner thigh, however, I knew it was time for action.

I swatted my leg out of sheer terror.  No plan, just swat.  It’s obvious what the outcome of that would be (though I didn’t think of that at the time), but I’d much rather she sting me on the thigh while waltzing up my leg than pretty much anywhere north of there.

After I had sat the box full of bees down, I ran through the woods trying to get far enough away to…

…take off my pants.

Well, not all the way, but enough to get the stinger out of my inner thigh and allow the dead bee to roll out onto my sock.  It had to be a funny sight – a guy completely covered from head to toe except for the exposed underwear.  Or creepy, at least.  Good thing my neighbors aren’t too close.

I finished the rest of the inspection after tucking my pant legs into my shoes.  I’ve heard other beekeepers suggest wrapping duct tape around your pant legs, but I was always under the impression that it was to prevent ticks.  I will soon add duct tape to my beekeeping equipment.

Immediately, the sting was just annoying, but not too swollen.  The next morning, however, it took up my entire thigh.  I drew a sharpie line around it to keep an eye on the swelling.  I popped benadryl and used a topical antihistamine cream for the next few days – and eventually it went away.

So, on my next trip out to the hives, I started out by tucking my pants into my shoes.  (Still need to get that duct tape)  All went perfectly during the inspection, but when I was taking off my gloves I didn’t realize I had a bee in my elbow pit.  When I bent my arm, it knew of its impending doom and went out in a blaze of glory.

Day One:

beesting1

“Arm Selfies” are a thing, right?


Day Two:

beesting2

Sheesh – looking at them back to back makes me think I might have actually had a bad reaction.  I haven’t learned my lesson, though – luckily.  At least it takes a day to swell, and not a few minutes.  That’ll give me enough time to drive to the hospital if needed.

Again, benadryl and antihistamine cream, and I’m right as rain.  Though I have discovered that non-drowsy benadryl causes me to sleep for a very, very long time in the middle of the day.

CHICKS!

teenage-chicks

Er – wait…  Not really chicks anymore.  These are like…  Chickens.  Or at least fowl teenagers.

They’re not full grown yet – they hatched about a month ago, and it could be a couple of months before the hens start laying – but I’m amazed at how fast they have grown.  Before I left for camp, they definitely had grown since the furballs hatched – but when I got back, it seemed like someone replaced them with larger, feathered creatures.  I wish I got a better picture – but hopefully you can see just how huge they’ve gotten compared to the feeder.

I had to give them a bigger box and put a bit of chicken wire on top because they would flap their wings anytime they’re nervous.  A couple of days ago, I went out to the garage (where they’re staying now), and one of them was standing on top of the box.  Luckily, I think it was scared of its newfound freedom, and was just walking around above the other chickens, not wanting to let them out of its sight.  There was a fairly small opening on one side of the box where the chicken wire was too short, so I had to cover it.

I’m not a Murderer!  …I think…
[***Warning – pictures of dead chicks ahead***]

After the remaining eggs sat in the incubator a day or two after they should have hatched, I decided to play detective to see if I could find out why they didn’t hatch.  What I found was a fairly interesting progression of chicken development.

dead-chick1

Ok…  So – I might have killed this one.

It’s pretty much fully developed, and I think it died just before eating the yoke (which busted when I cracked it open).  Heck – the picture looks like it’s ready to chirp.  But it won’t chirp.  It will never chirp.  I blame myself for opening the incubator too much.

After that, in the order I opened them, they get smaller and less developed.

dead-chick2

dead-chick3

dead-chick4

dead-chick5

They might have died for any number of reasons, but one reason could be that the temperature wasn’t perfect, and that I didn’t have anything circulating the air in the incubator.  But this is speculation, which I’m probably not even close on.  Some detective…

It’s probably good that only five hatched, though – because I’m definitely running out of space in the current brood box.  I started building a chicken tractor on Saturday, and I’m fairly close to finishing it.  (I wanted to finish this post before adding anything about the chicken tractor, so that I have two blogs rather than one at 5000 words)

Because of everything that’s been going on my world, I probably wouldn’t have been able to build the chicken tractor sooner, which means they’d all be sitting on top of each other right now.  Currently, they’re merely sitting very, very  close to each other.

[Actually, I’ve already moved them into the run on the chicken tractor, which is unfinished, because it’s taken me almost a week to finish this post…]

So – next time you tune in, I’ll have a bunch of fun pictures of building a chicken tractor.  I promise, no pictures of dead chicks.  Well – unless one of my chickens dies and I feel like it’s worth posting a picture.  But even then – not a chick.

But I’ll leave you with a teaser on the chicken tractor production:

wood