This post is a looong time coming. So long that I’m trying to piece together my pictures to remember what happened.
Last fall (2014), I gathered some acorns and pretty much just wasted a bunch of time. All of them turned out to be garbage, with worms laughing in my face. But, I’m stubborn, so I wasn’t going to give up that easily.
Last Christmas, my brother gave me a book about eating things in the wild, and wouldn’t you know it; there was a whole section on acorns! I had a renewed sense of hope in acorns now that I had a mentor on paper.
Apparently, the first time I tried it I went about everything wrong. All of my instincts led to the acorns that were definitely bad.
- I went out entirely too early, which means I was only gathering the rejects rather than waiting for the fully matured ones. (The tree releases an acorn if it knows that it’s no good, rather than waste energy on a dead seed)
- I was mainly picking up acorns that still had the tops attached, but it turns out that’s actually a sign that they’re bad. (When an acorn matures it loses the top)
- I was grabbing them willy-nilly, rather than checking for the super obvious hole in the shell (which means a worm has already eaten the nut meat and skipped town)
So, this time around, armed with new knowledge and a slight confidence, I filled my pockets once again. The results were much better.
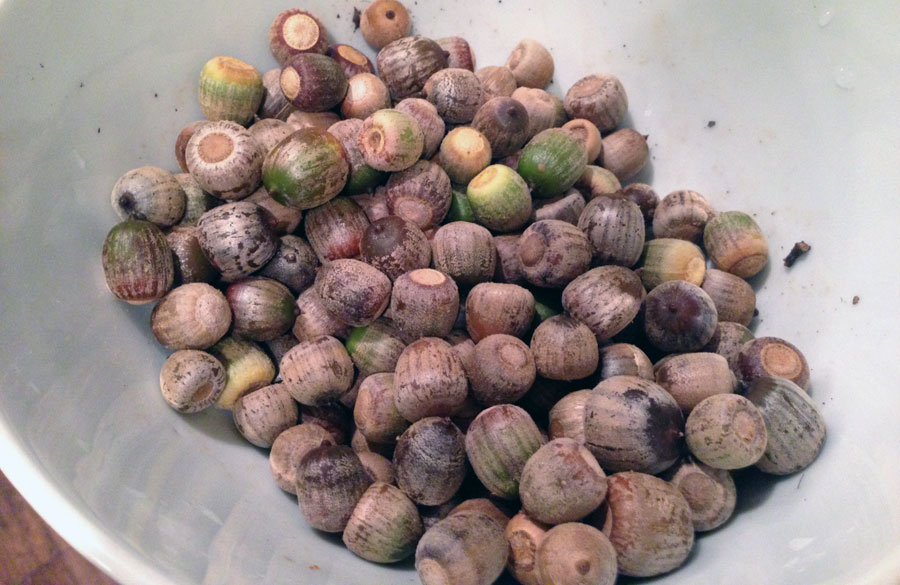
Many of the acorns I gathered at first were green. I don’t really know what that means, but I expect that they were slightly under “ripe.” Some that I let sit for a few days darkened up, but most of them I just cut into fairly quickly. Unlike before, when I had what I thought to be a 10% “success” rate, the first acorn that I cut into this time around was perfection.
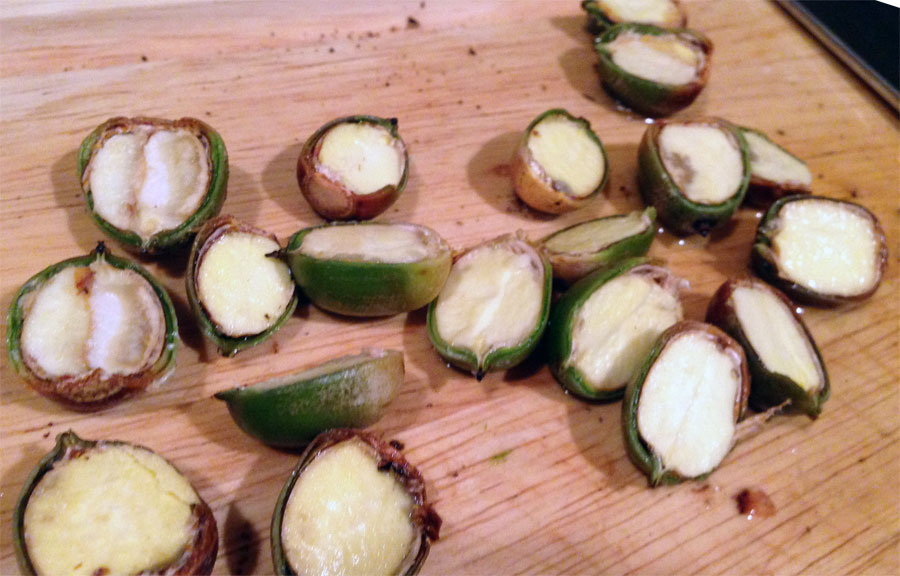
Now, I ran into plenty of non-perfect acorns in this batch, mind you. But what I thought were my keepers before were ones that I threw away pretty quickly this time. If it had a small trail of brown that I could cut out, I’d keep it. Otherwise, it would be a lot quicker to just go outside and find some more acorns rather than trying to butcher the save-able “meat.”
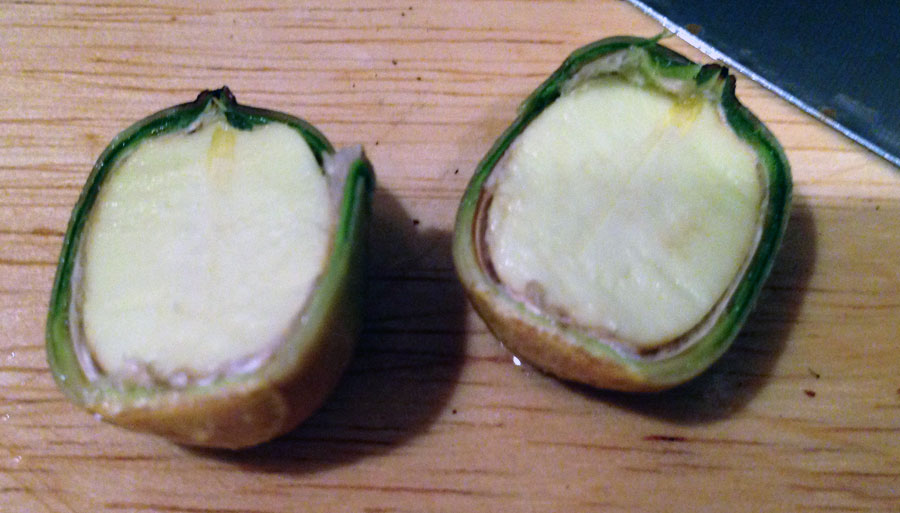
I shelled a bunch, and then came the fun part. In the book, my new mentor said that “some people insist that you must remove the skin from the nut meat.” But he didn’t follow it up with, “but it’s ok if you don’t” or similar, so I figured I’d better do it then, if some people insist.
That. Took. For. Ever.
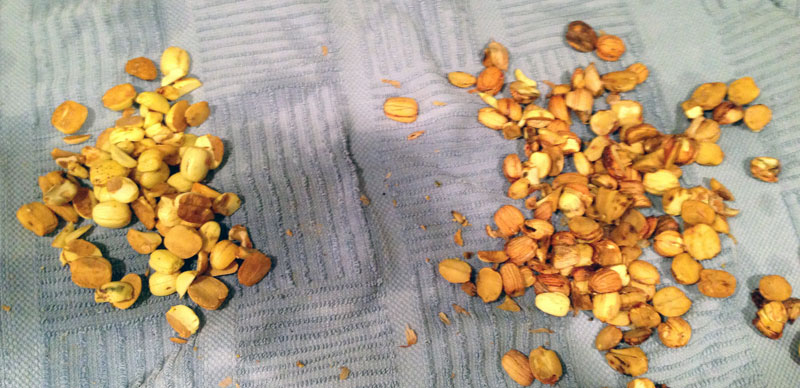
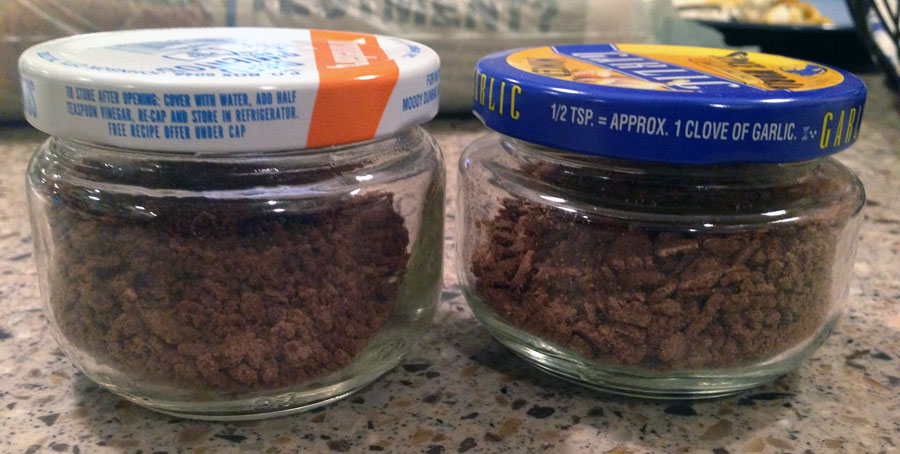
Left side is skinned, right side is shirts.
Early into this part of the process, I was no longer having fun. I think that small amount of acorns took me about two hours to skin. It’s not like a peanut, where you can just twist or squeeze the skin and it falls off – these little jerks have wrinkles and folds where the skin would be clamped into. The mentor said it would be easy, and said I could just dip them in some water if I had any trouble. I started thinking my mentor was full of crap. I also seriously started wondering if it was worth it to skin all of them, or if I should just take my chances with the skins.
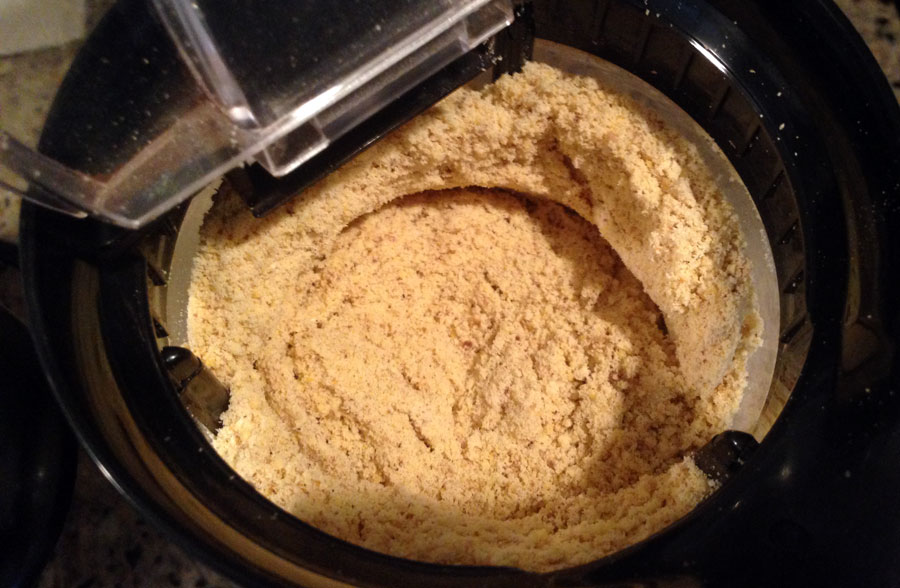
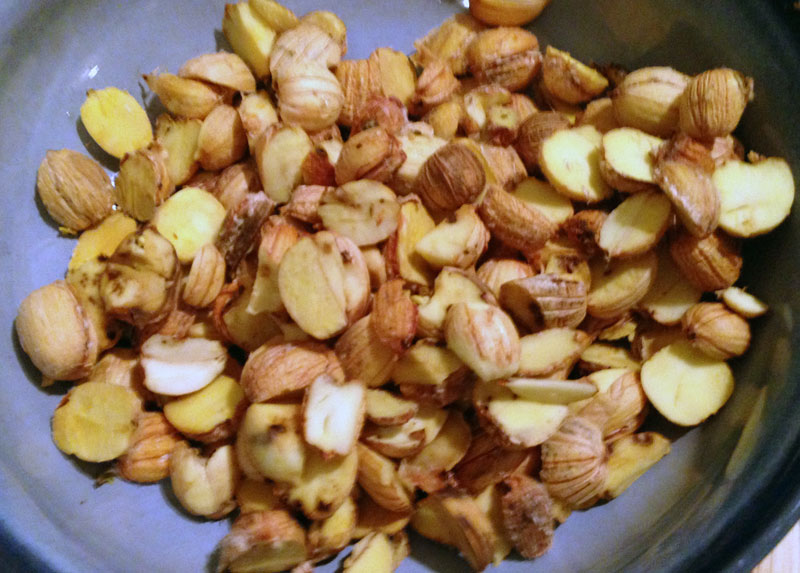
After the horrible part was over, I tossed them into a coffee grinder. It quickly ground the nut meat into “flour.” I had to take some time scooping everything out of the grinder, because the oils in the acorns were keeping some clumped at the bottom.
Unfortunately for me, acorns contain a large amount of tannins, which is used to tan animal hides. It also makes the acorn very bitter, and you can get sick if you ingest too much of it. The process of removing it is fairly simple, though (again) tedious.
There are two ways to get the tannins out of the acorns, according to my mentor: Hot and Cold Leeching. For Hot Leeching, you just boil the acorns in water for a while, then drain. I think you can even leave them whole if that’s the case. However – apparently that process removes a lot of nutrients from the flour – and who needs those empty calories?
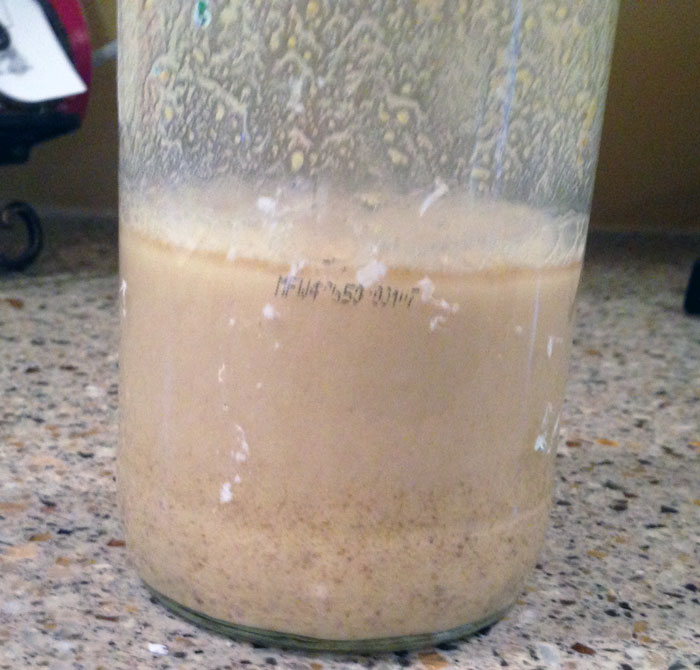
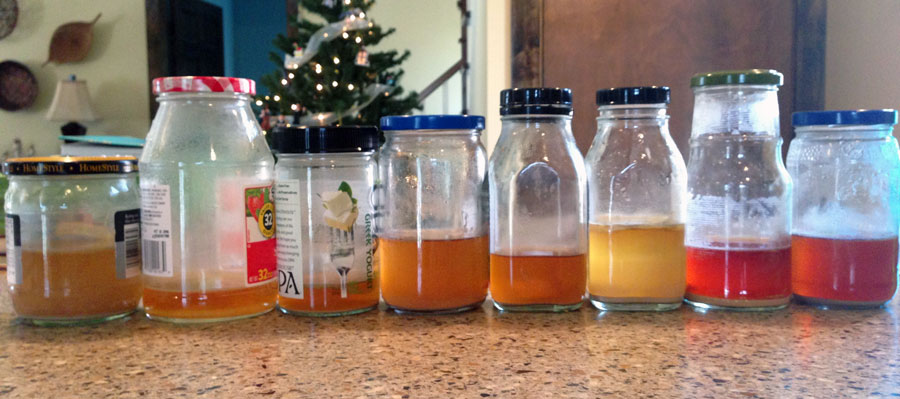
For Cold Leeching, you just soak it in water then drain it until it stops tasting bitter, usually 6 to 20 times. I’m no expert on this part, and I really didn’t want bitter acorns on my first go ’round (especially since I’d already invested so much time into it), so I let them sit for days, and did the whole process eight times.
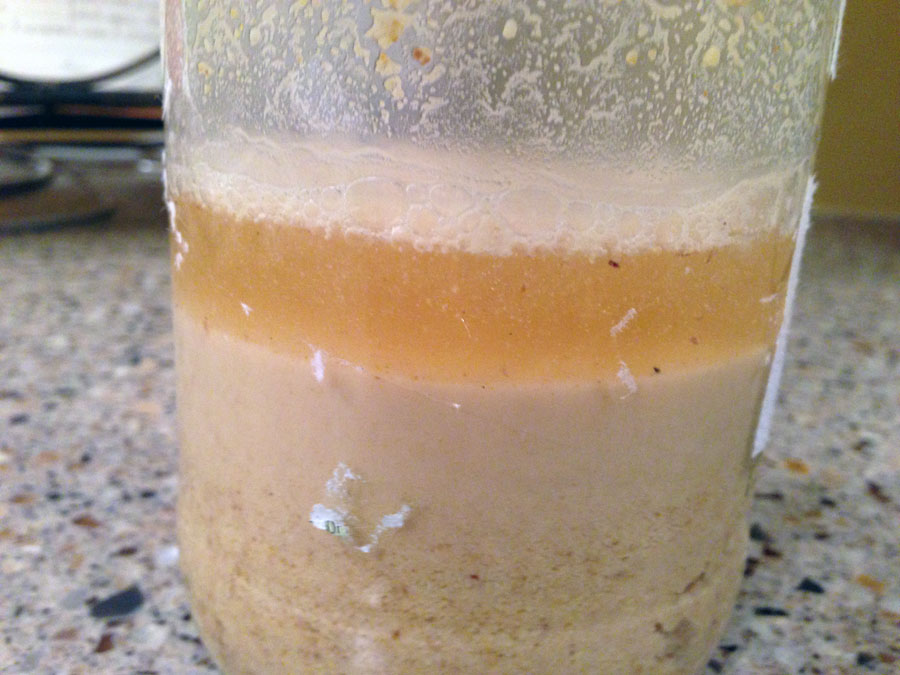
I think the above is was just the first time. Surprisingly, the color of the water changed drastically each time. Not to say it was getting darker or lighter – it just changed back and forth, so I don’t know what to say about it.
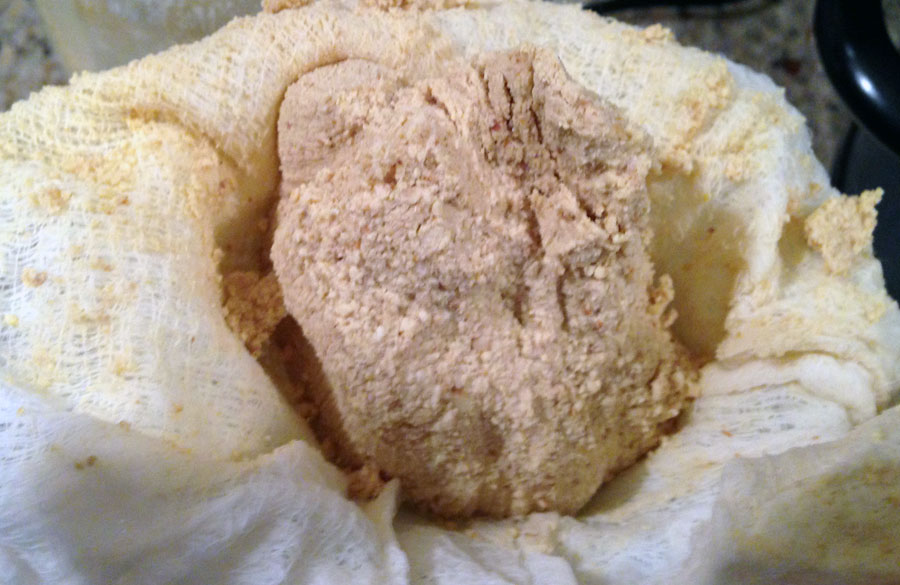
After I decided each leeching session was done, I would strain it through cheese cloth and do the whole thing again. After it wasn’t soaked, but still moist, it caked together just like wheat flour.
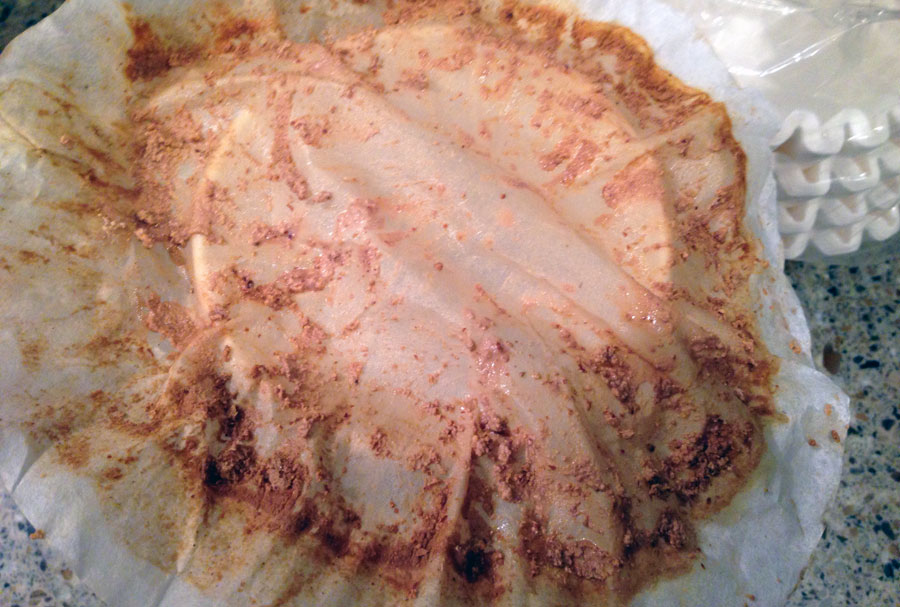
After using the cheesecloth a handful of times, I noticed I was losing a lot of flour in the layers of the cloth. That sucked a lot, considering how much work I had already put into what was going to amount to very little acorn flour. And not only that, when I tossed the cheesecloth to the side, waiting to be used again, it still had junk in the folds. It ended up getting really nasty and moldy, so threw it away.

For the next several batches I used coffee filters, which took forever to drain. I mean, I’d let it sit for hours and it would still be letting just a single drip through. With the cheesecloth, I would be able to squeeze the water out to speed up the process – but if I did that with the coffee filters, I would bust a hole and everything would fall out, which meant I would have to start the draining process all over.
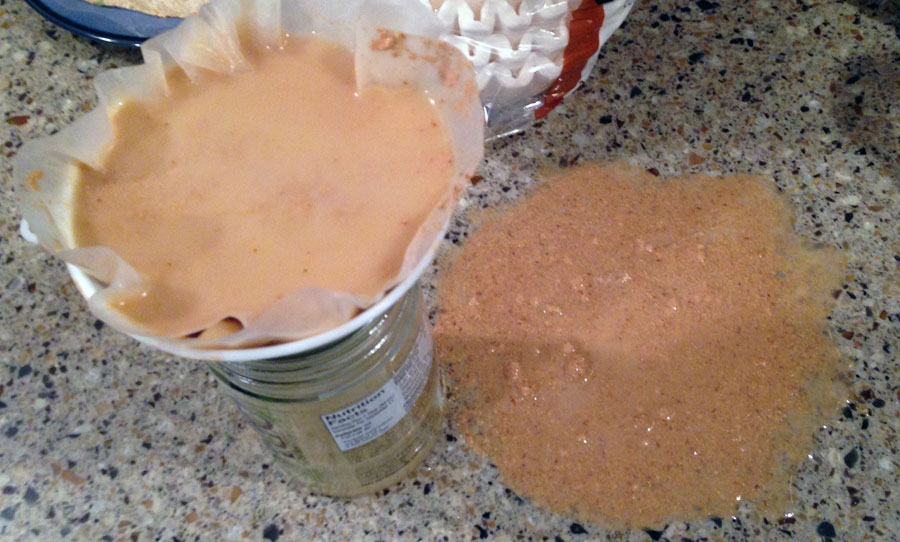
I had an accident
I was still losing a lot of flour with each drain, too…
Anyhow, after all that – which took a couple of weeks, by the way – I spread my findings on a plate to let it dry out.
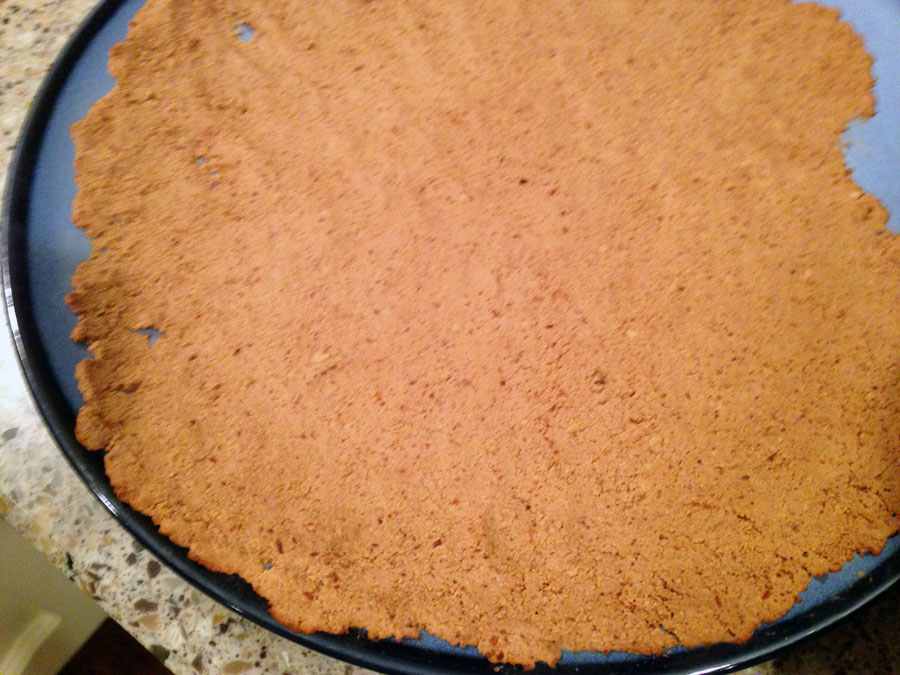
And after that, I did another batch with skins on them, so I could find out if I would be one of those crazy people who insists that they be removed. After they completely dried out, they turned pretty dang dark. And the saddest part was that there’s maybe a 1/4 cup that made it through each process…
I haven’t actually made anything with the flour yet, so unfortunately this is where I leave you. Will I cook something that cures ebola? Will I find that I’ve actually made gold? You’ll have to wait until next time…
David, they make a thing called a “Nut Milk bag” that we use to make almond milk…basically, you blend up the almonds and water (vanilla/stevia, etc) and then pour it thru the nut milk bag…like cheese cloth, but much more sturdy and you can get most of the nuts out…then we make our almond flour with the pulp from the milk.
Nice! Just checked them out on Amazon – I’ll probably get one when I get to the next project that needs a strainer. Thanks for the tip!
That wore me out just reading about that long process! Lol. 🙂
All that work and I STILL haven’t made anything with the flour, too! 😀
Pingback: The Other Brown Flour (Part 2): Baking with Acorn Flour | Geek Off Grid